

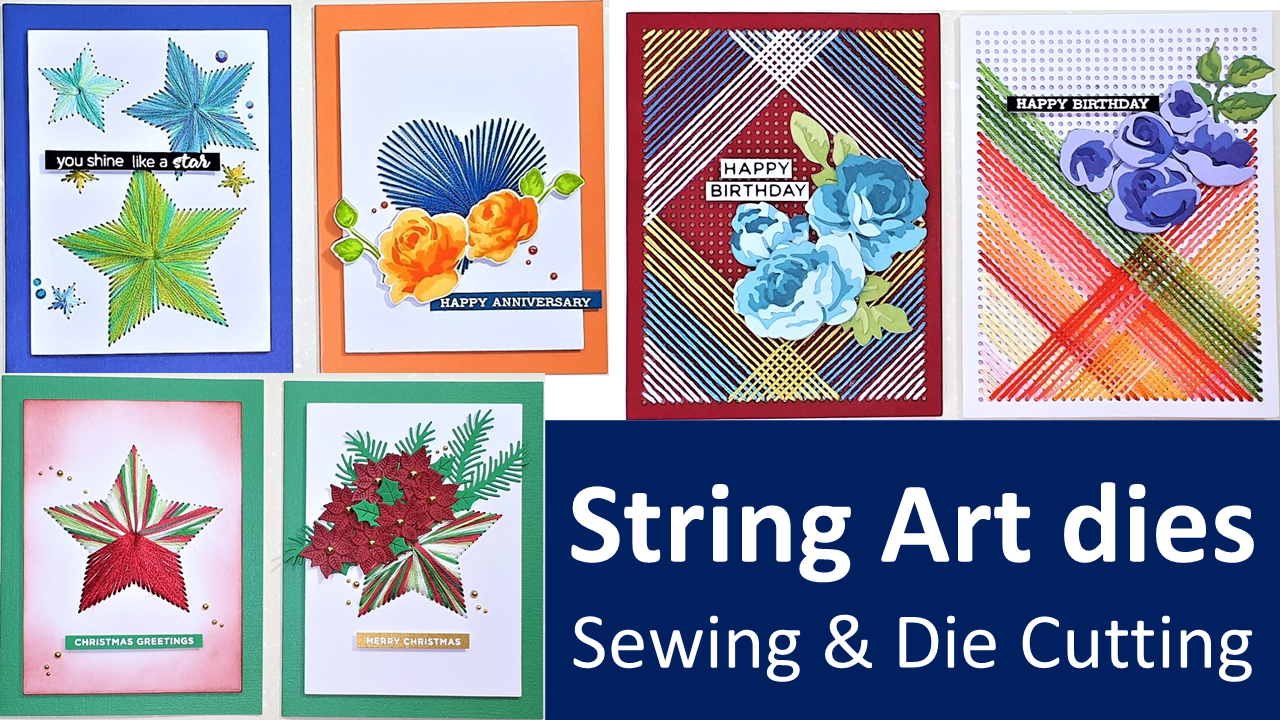
String Art Dies - Texture in Cards
Disclosure: Where available I use compensated affiliate links which means if you make a purchase, I receive a small commission at no extra cost to you. Thank you so much for your support!
This post which includes a video shows how I use a few String Art Dies and the Pegboard Canvas Die from Altenew to create seven cards. These cards were inspired by Jaycee Gaspar’s Elements of Floral Composition Online Cardmaking Class and this is part of my classes for the Altenew Educator Certification Program, Level 3. The class demonstrated a few ways to add texture around a floral composition. When I realised that sewing with string art dies would add the required texture, I could look past it. I simply adore sewing dies. In fact I had to stop at seven cards though I had more ideas…will leave that for another post & video.
Do check out the video below.
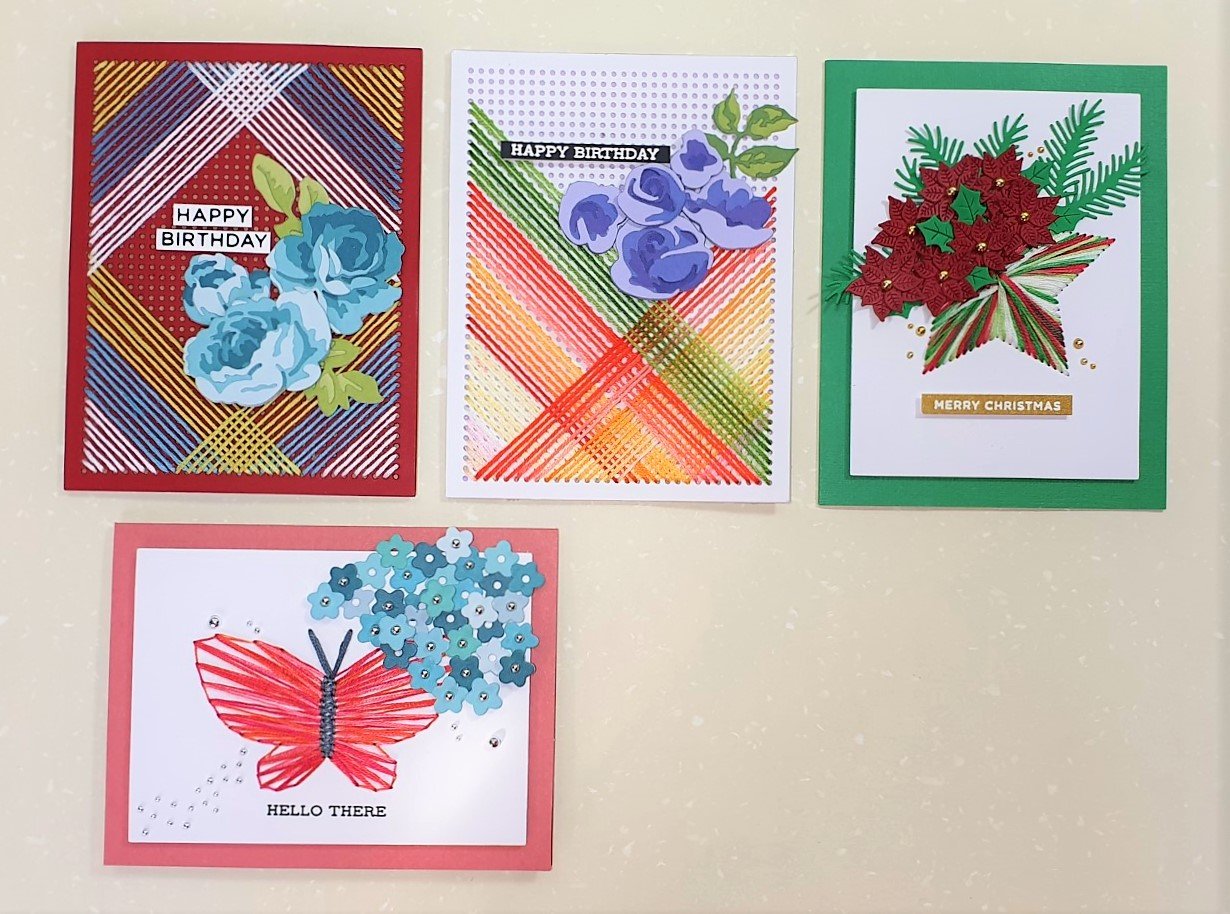
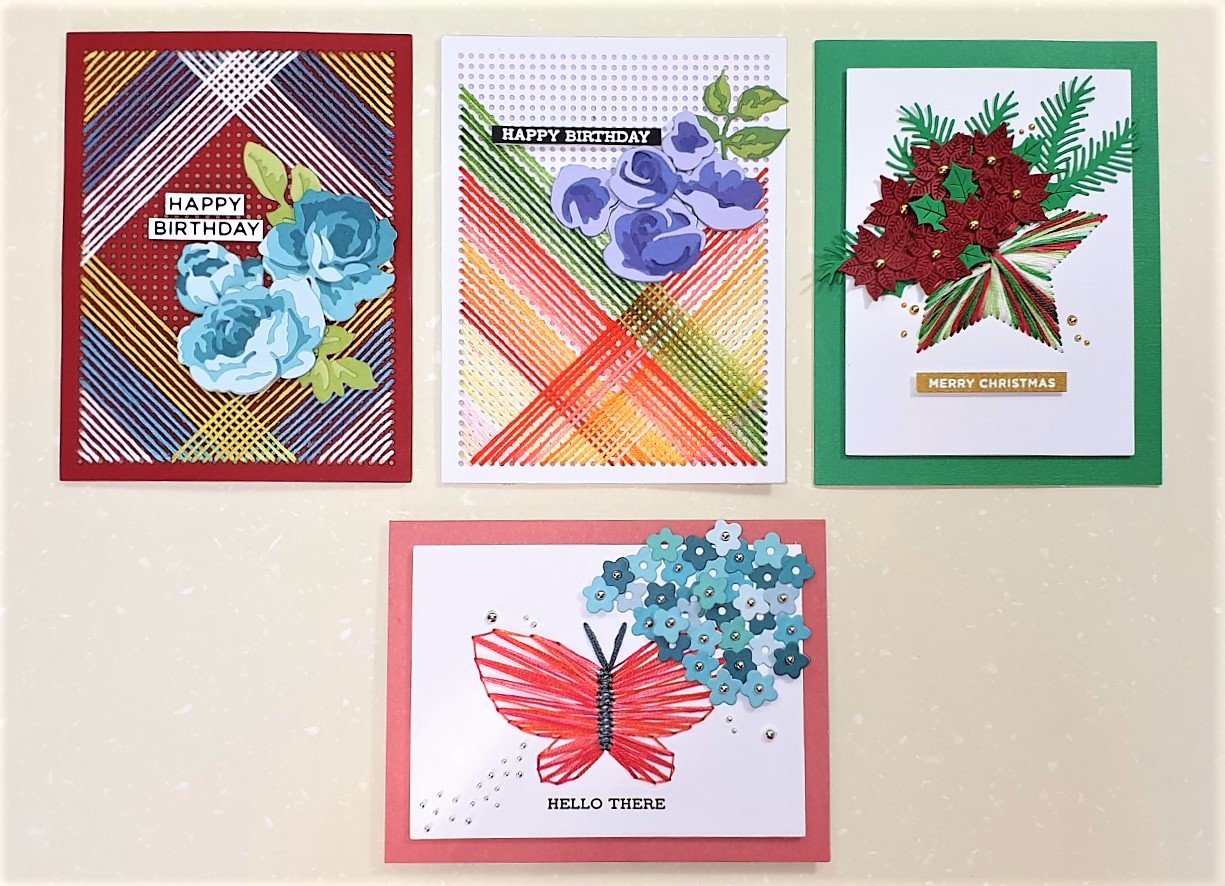
Gallery of Cards Created
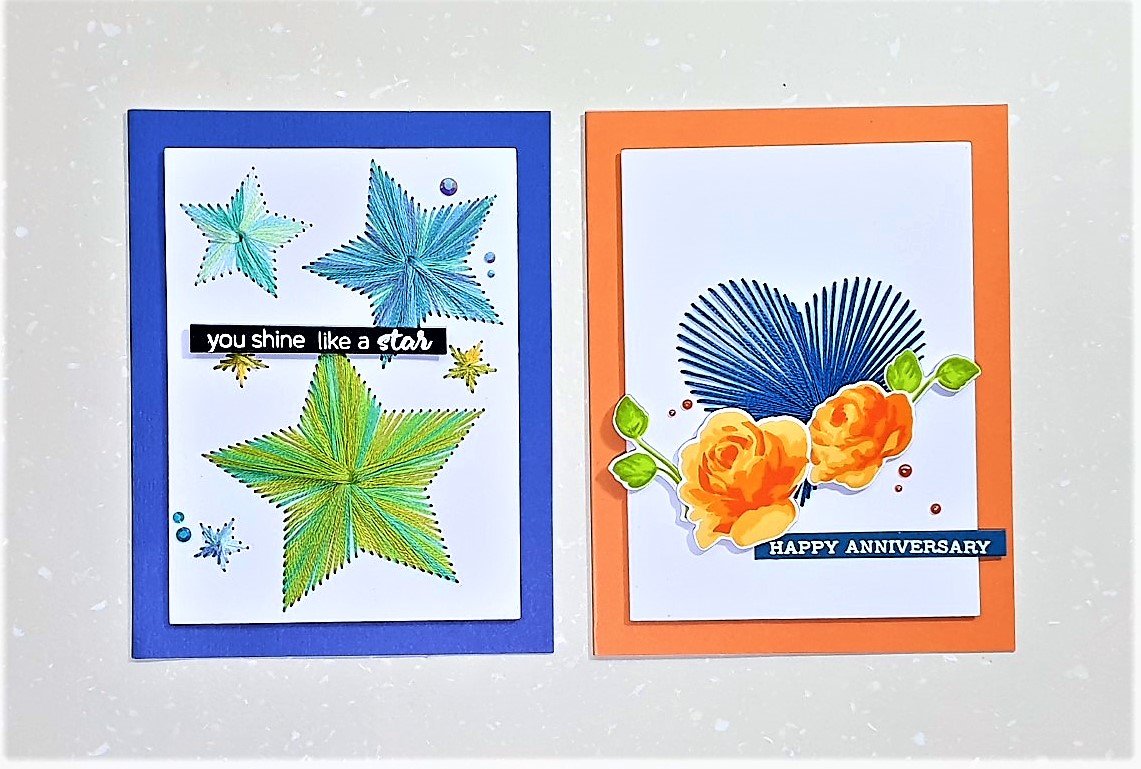
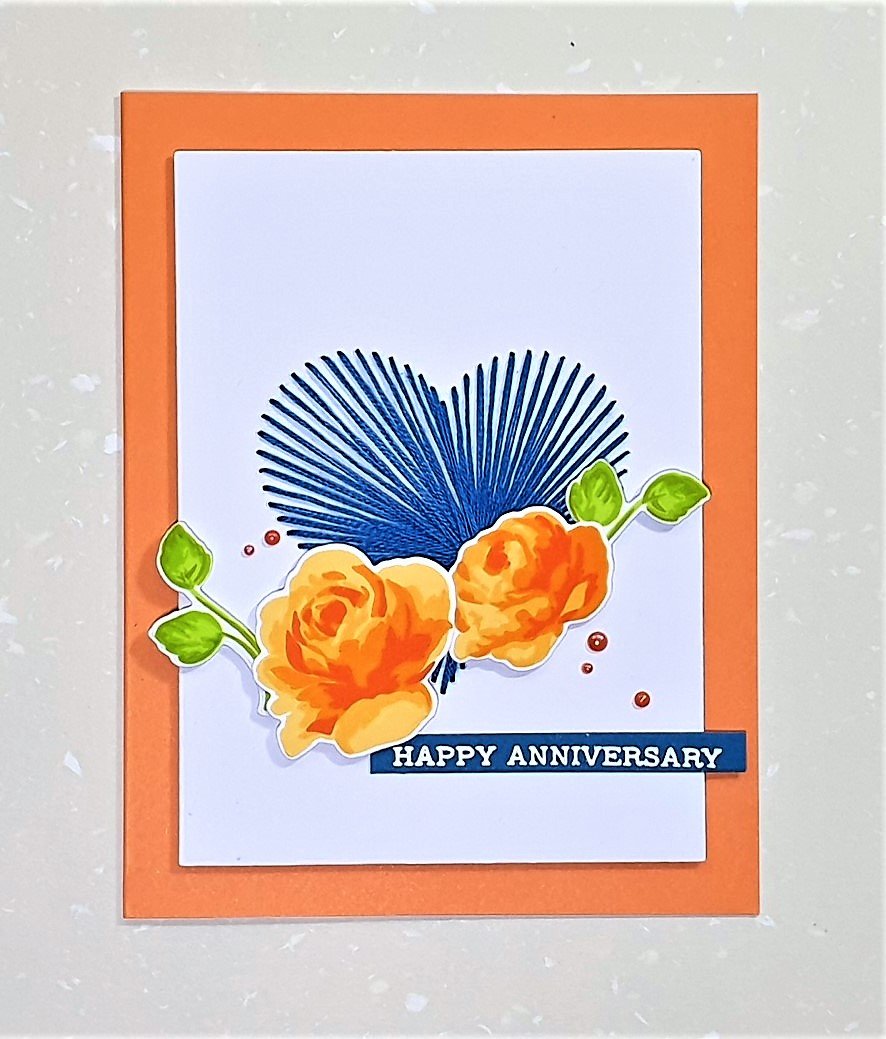
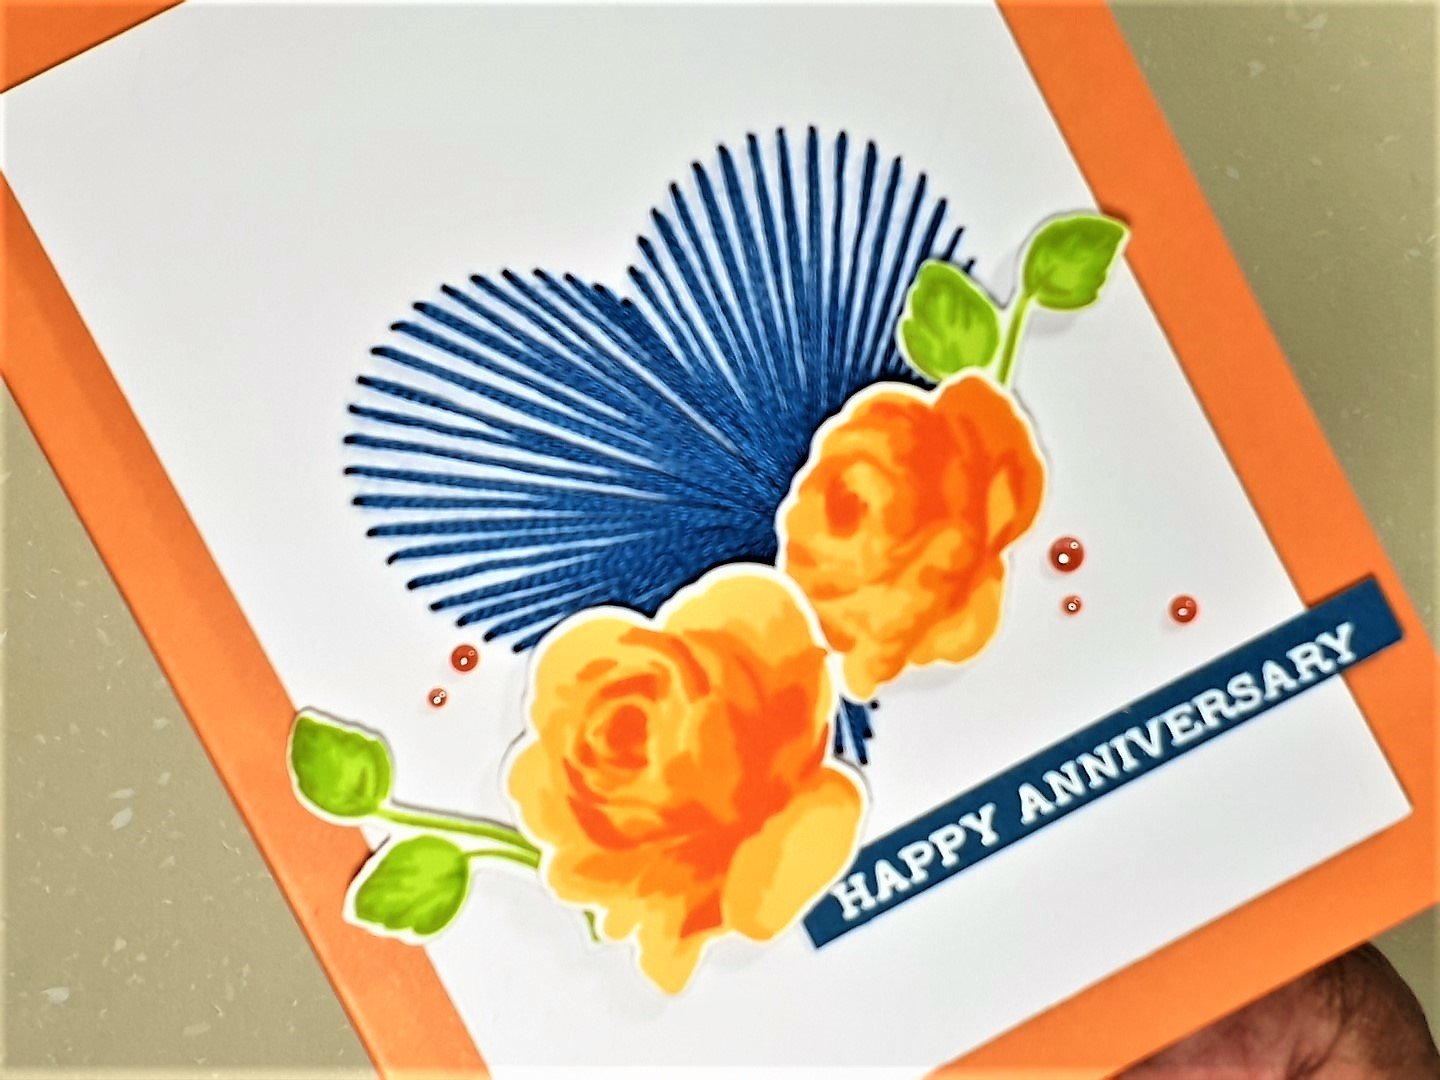


Card #1 - Happy Anniversary

Die cut Neenah Solar White 110lb card with Waffle Flower A2 Layer Die to create a rectangle which is smaller than a A2 card base. Place Altenew String Art Heart on card panel, secure with satin masking tape (so it does not move) and put through die cutting machine with the appropriate ‘sandwich’.
Punch a hole using a screw punch somewhere on the lower right within the heart. Start sewing using a tapestry needle size 26 and DMC thread. Secure start of thread behind the card panel with cellophane tape and pull thread through to the front and insert into hole punched in the lower right side within the heart. All of the thread will go through the outline of the heart which holes have been die cut and go through the hole that was punched within the heart. Once complete secure thread to back of card panel with cellophane tape.
Stamp Vintage Rose flowers with Golden Sunset Crisp Dye Ink and leaves with Tropical Forest Crisp Dye Ink. Use a stamping platform to double stamp the dye ink for each layer for a more intense colour and smooth pigment finish. Use coordinating Vintage Rose dies and die cut stamped images.
Adhere fun foam to back of stitched card panel and attach to orange A2 side folding card base. Attach die cut flowers with foam squares on side of stitched heart. Stamp sentiment ‘Happy Anniversary’ from Altenew Sentiment Strips stamp set with embossing ink and sprinkle Pure White embossing powder onto stamped sentiment. Warm heat tool for 30 seconds and melt embossing powder. Cut sentiment into a strip and attach to card front with foam strip. Add some gems with liquid glue and a gem picker tool for embellishment and card is complete!
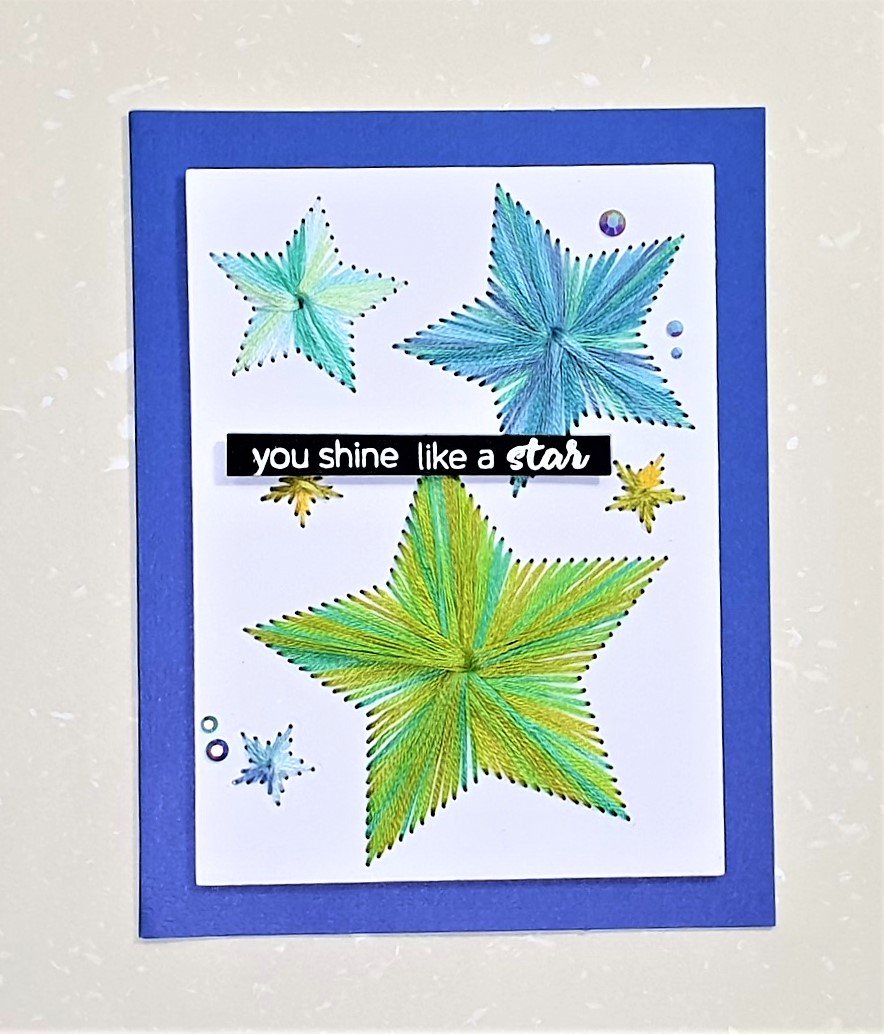
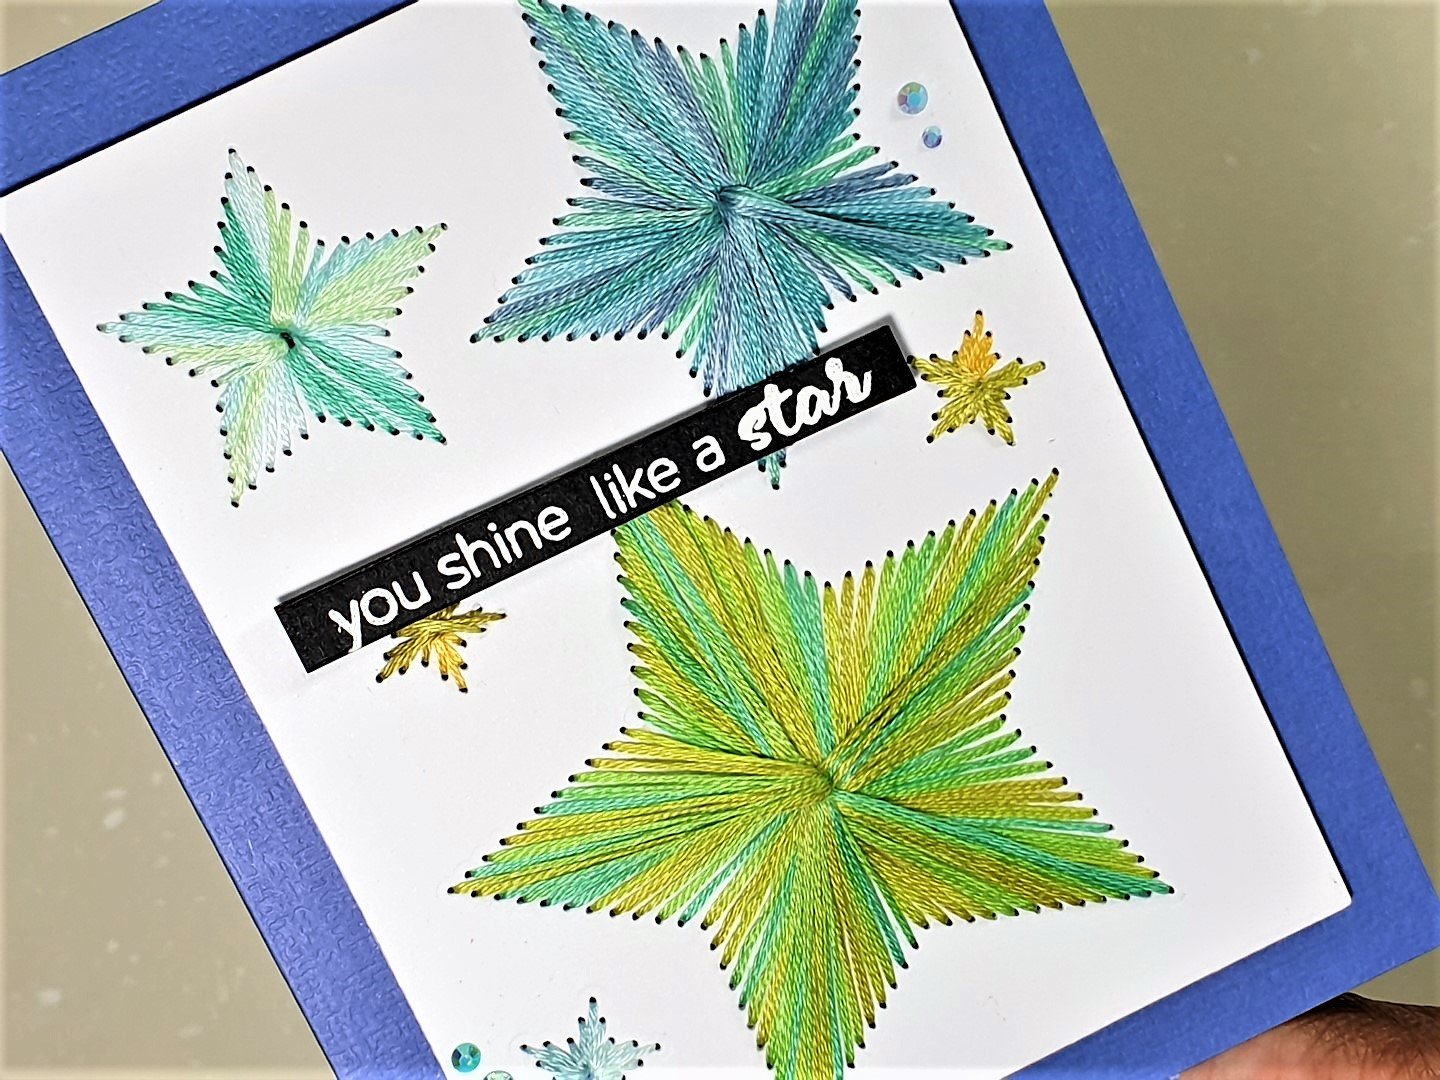
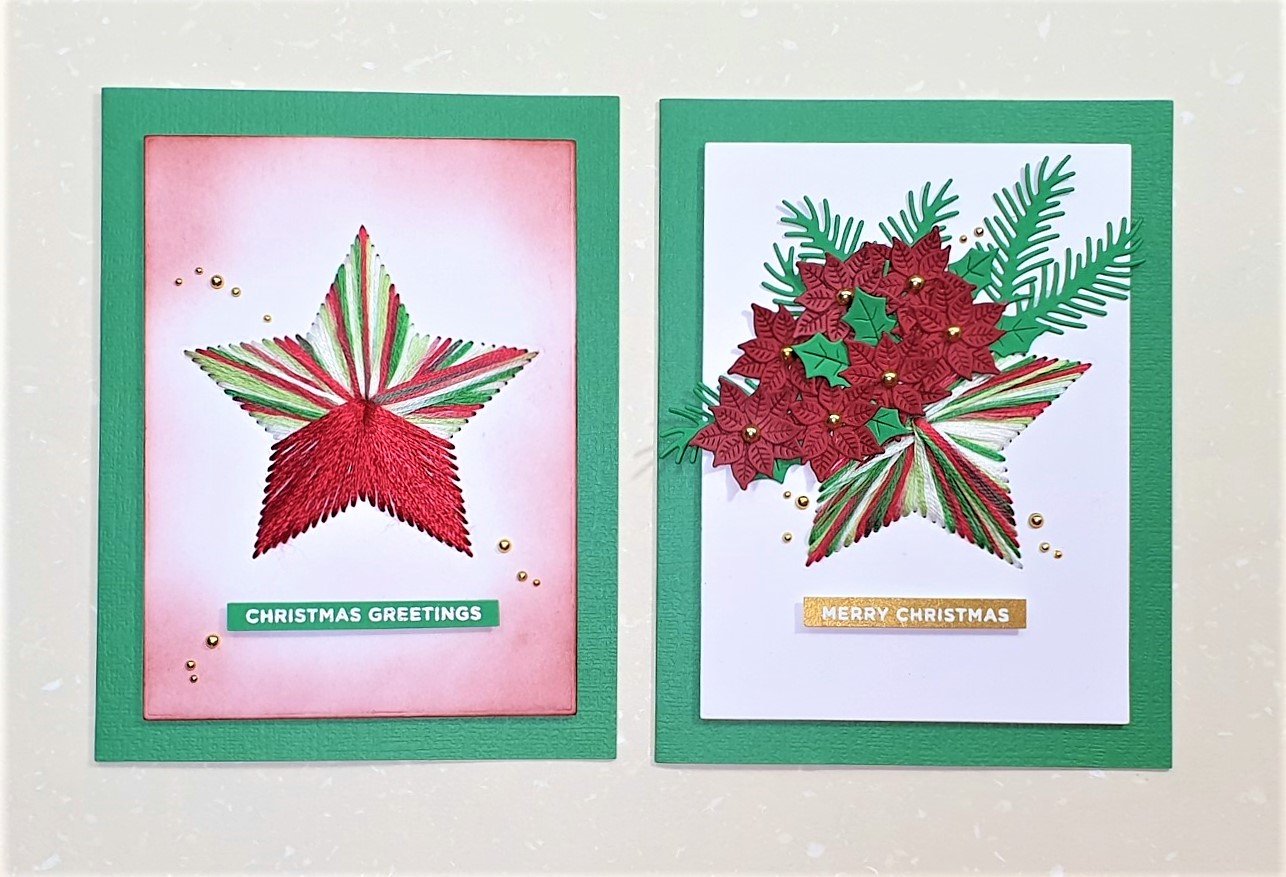
Card #2 - You shine like a star

Die cut Neenah Solar White 110lb card with Waffle Flower A2 Layer Die to create a rectangle which is smaller than a A2 card base. There are four different star dies in various sizesin the Altenew String Stars. Randomly place the dies onto the card panel, secure with satin masking tape (so it does not move) and put through die cutting machine with the appropriate ‘sandwich’.
Punch a hole using a screw punch in the middle of each star. Start sewing using a tapestry needle size 26 and DMC variegated thread. Secure start of thread behind the card panel with cellophane tape and pull thread through to the front and insert into hole punched in the middle of each star. All of the thread will go through the outline of each star where holes have been die cut and go through the hole that was punched in the middle of each star. Once complete secure thread to back of card panel with cellophane tape.
Adhere fun foam to back of stitched card panel and attach to blue A2 side folding card base. Stamp sentiment ‘you shine like a star’ from Altenew Mini Delight Like a Star stamp set with embossing ink and sprinkle Pure White embossing powder onto stamped sentiment. Warm heat tool for 30 seconds and melt embossing powder. Cut sentiment into a strip and attach to card front with foam strip. Add some gems with liquid glue and a gem picker tool for embellishment and card is complete!
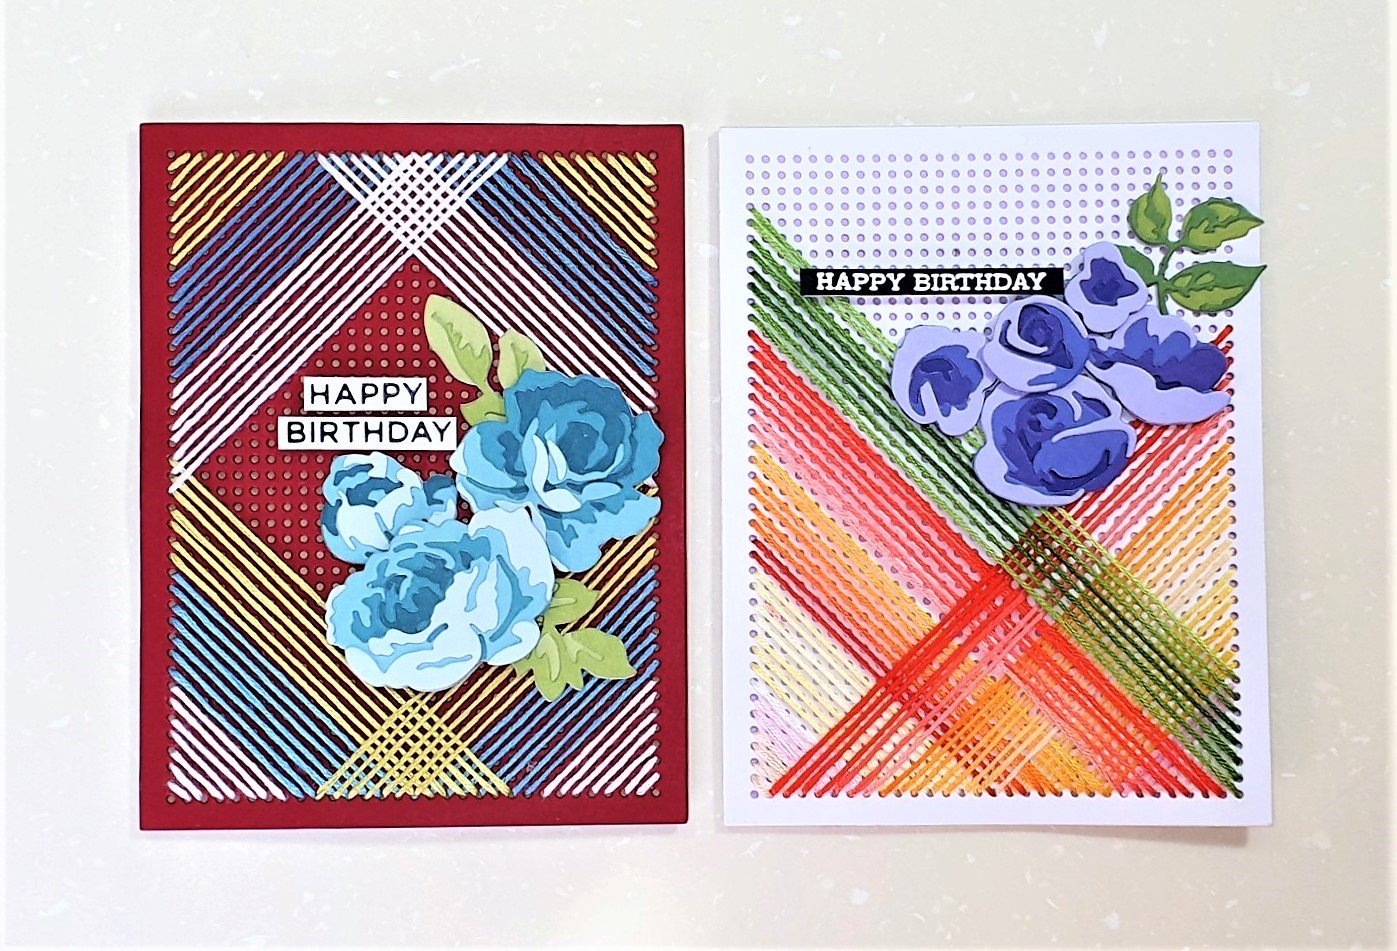
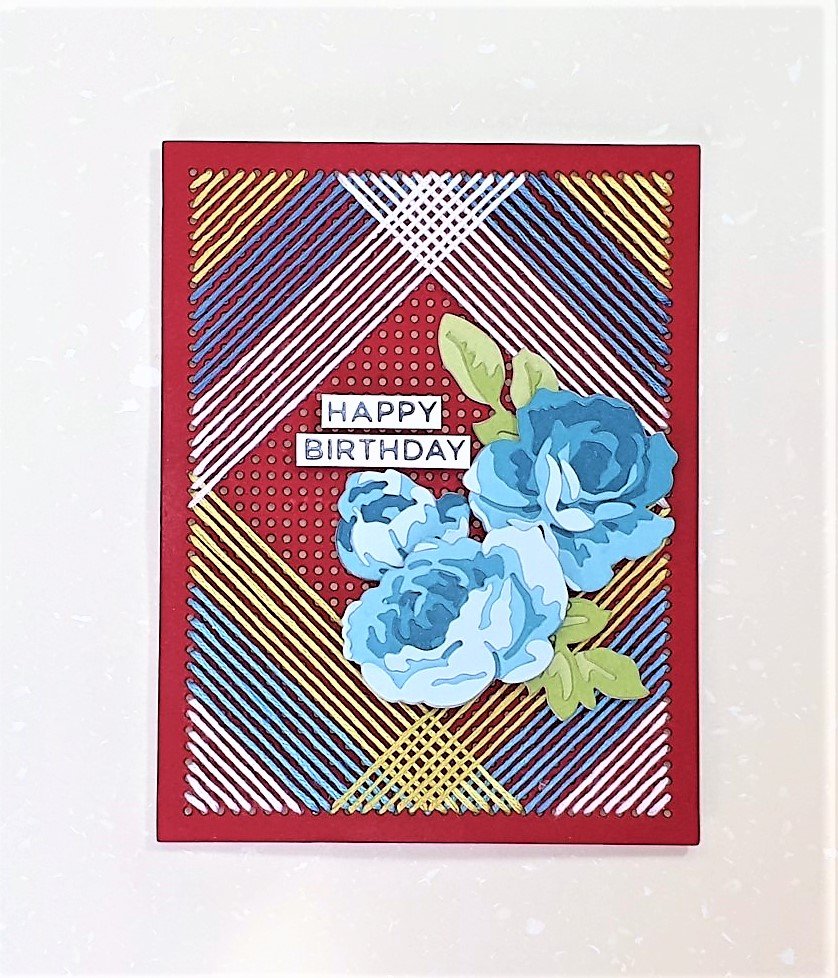
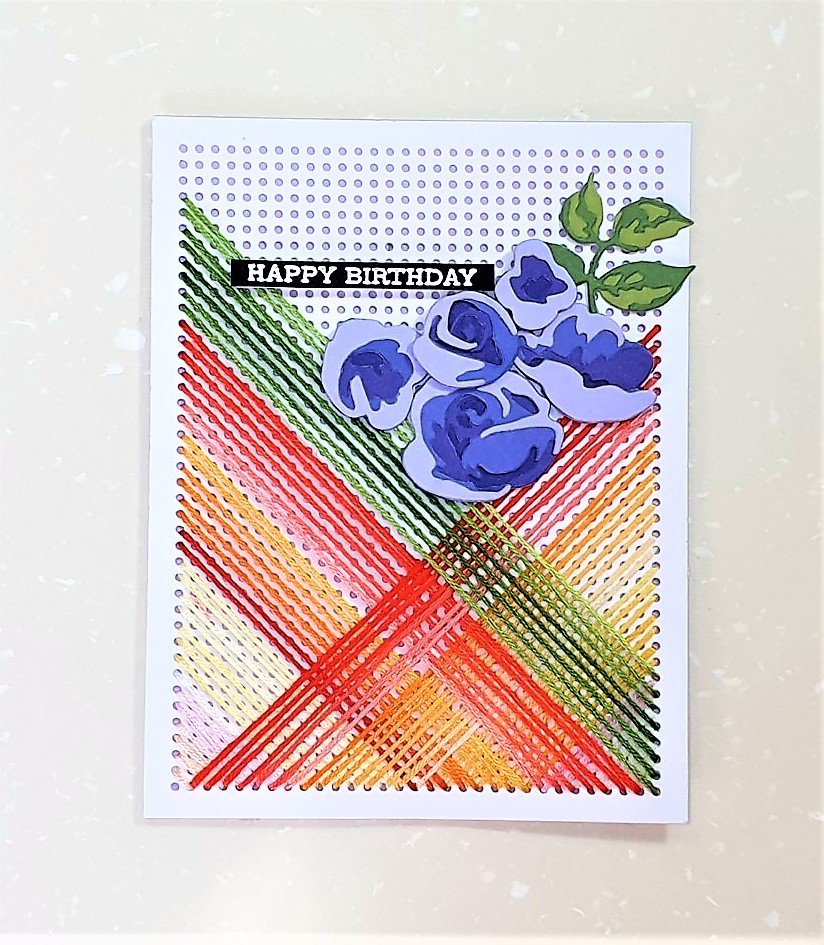
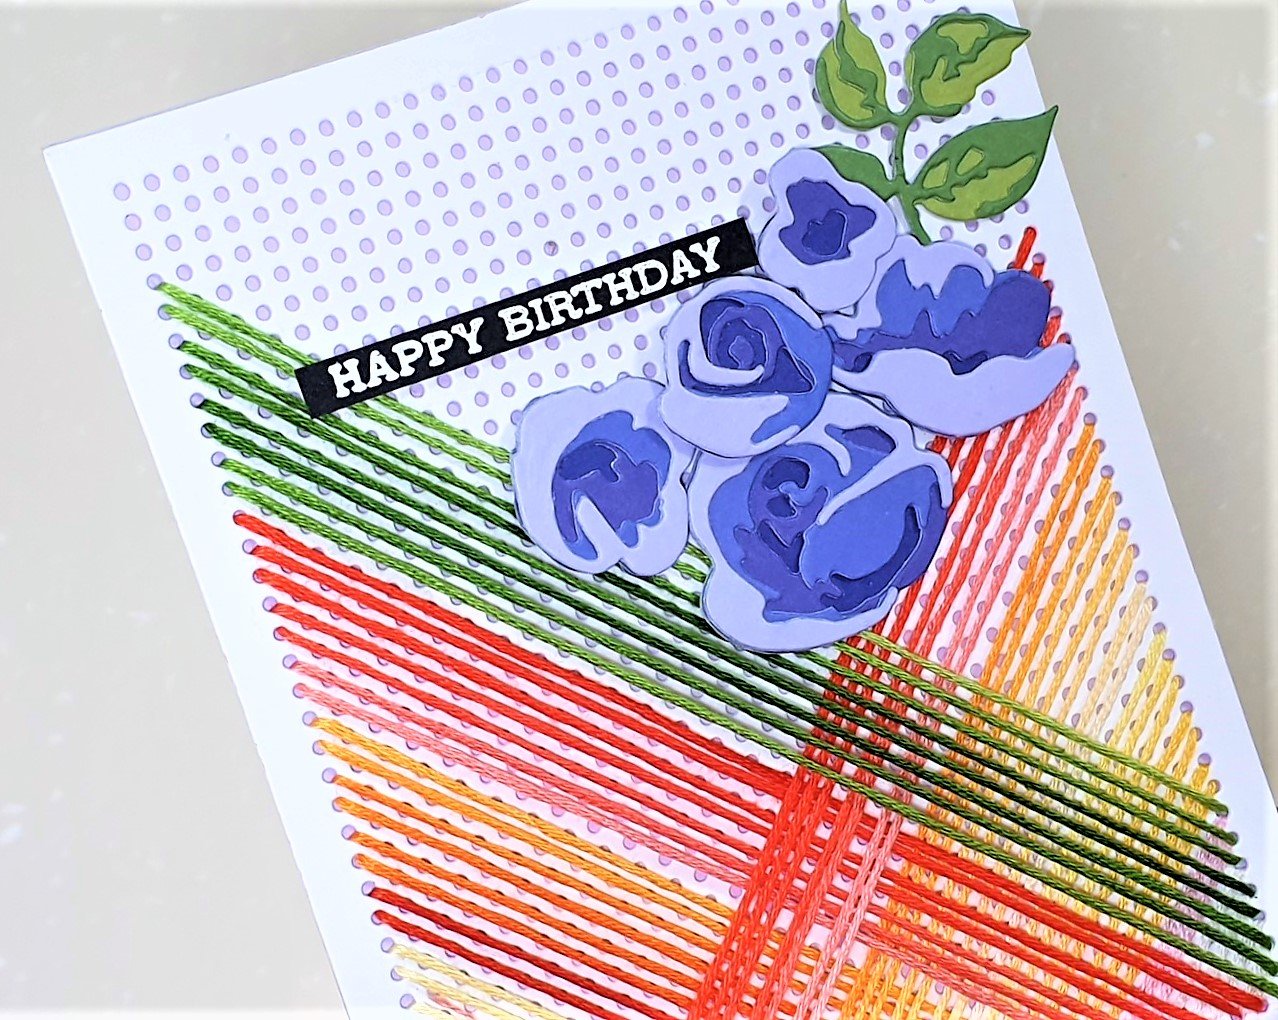
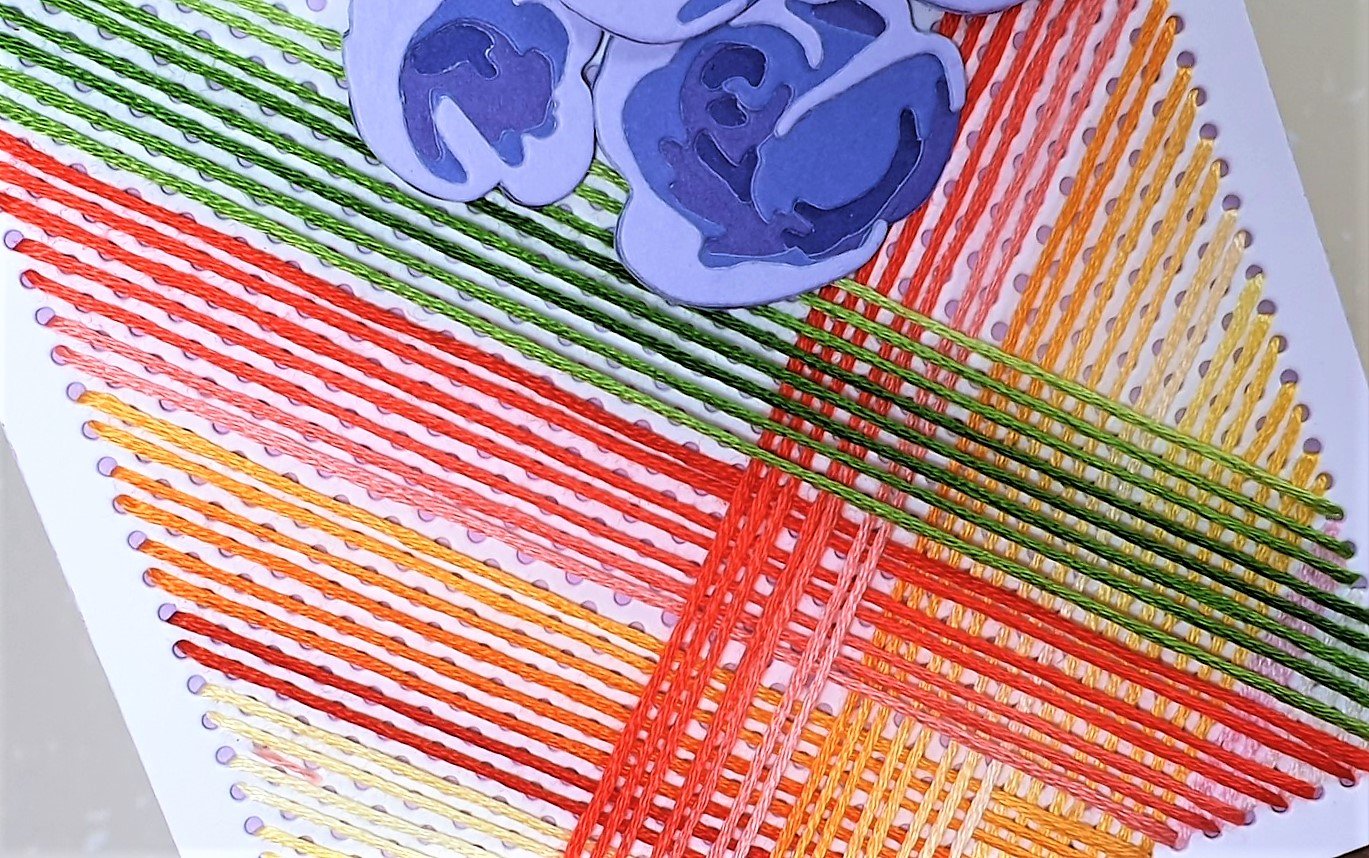
Card #3 - Happy Birthday [heat embosssed]

Steps are pretty much the same as Cards #1 and #2 above, but this card uses the Pegboard Canvas Die which I absolutely adore, check this out. Here I use DMC variegated thread with tapestry needle size 24 to stitch the ‘criss-cross’ design on the die cut card panel.
The flowers and leaves cluster is die cut with the Altenew Rose Flurries 3D Die Set from Memory Box Twilight Purple paper pad and Memory Box Lush Green paper pad. The sentiment is from Altenew Sentiment Strips 3 stamp set.
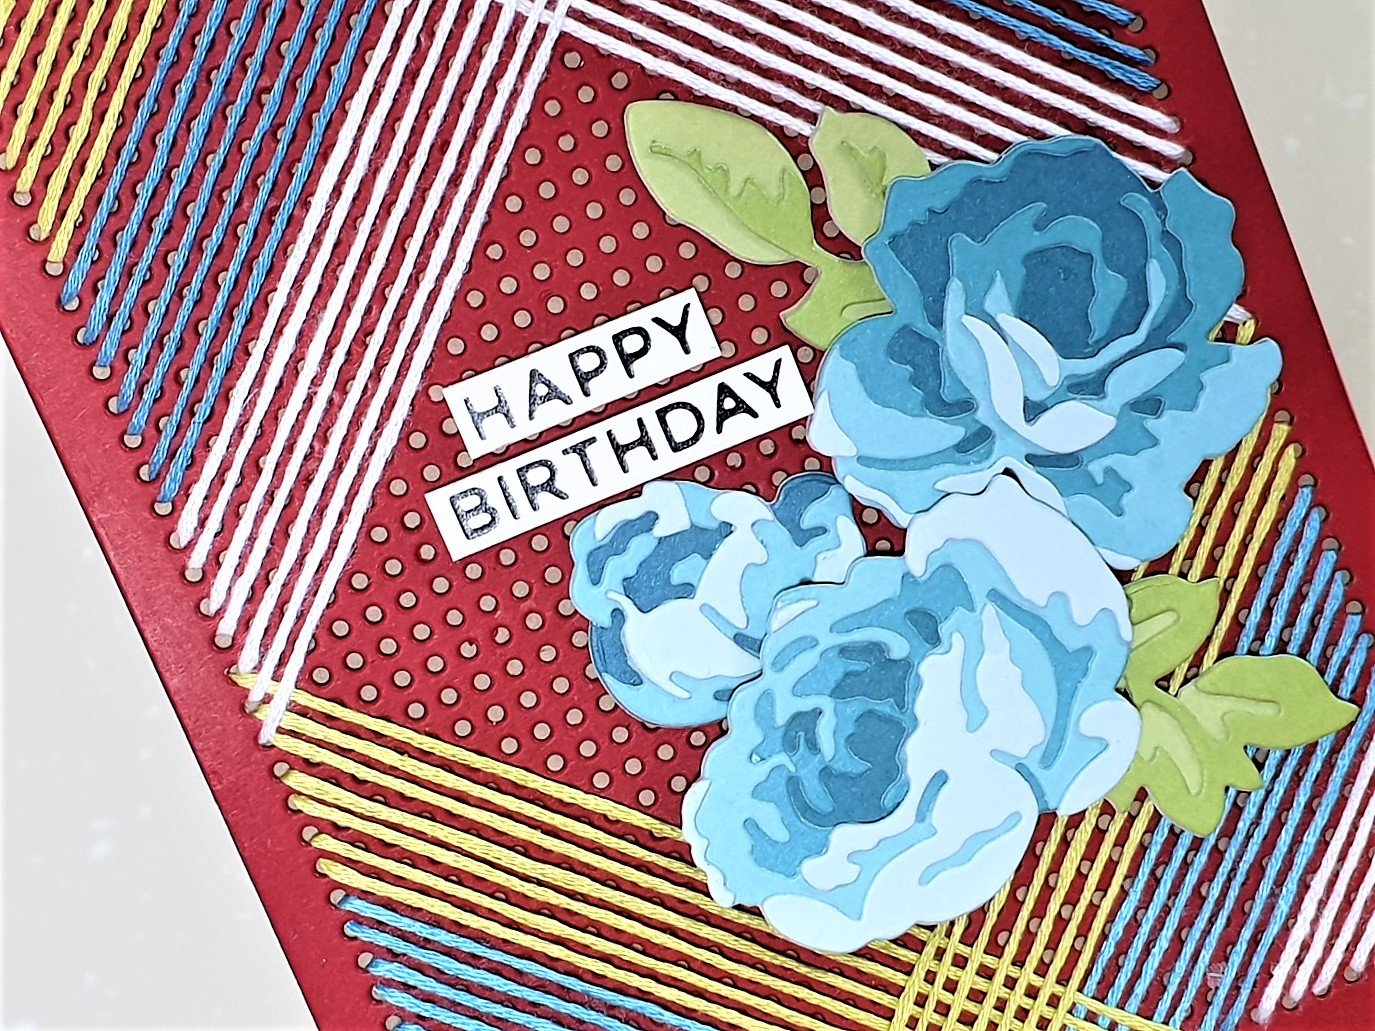
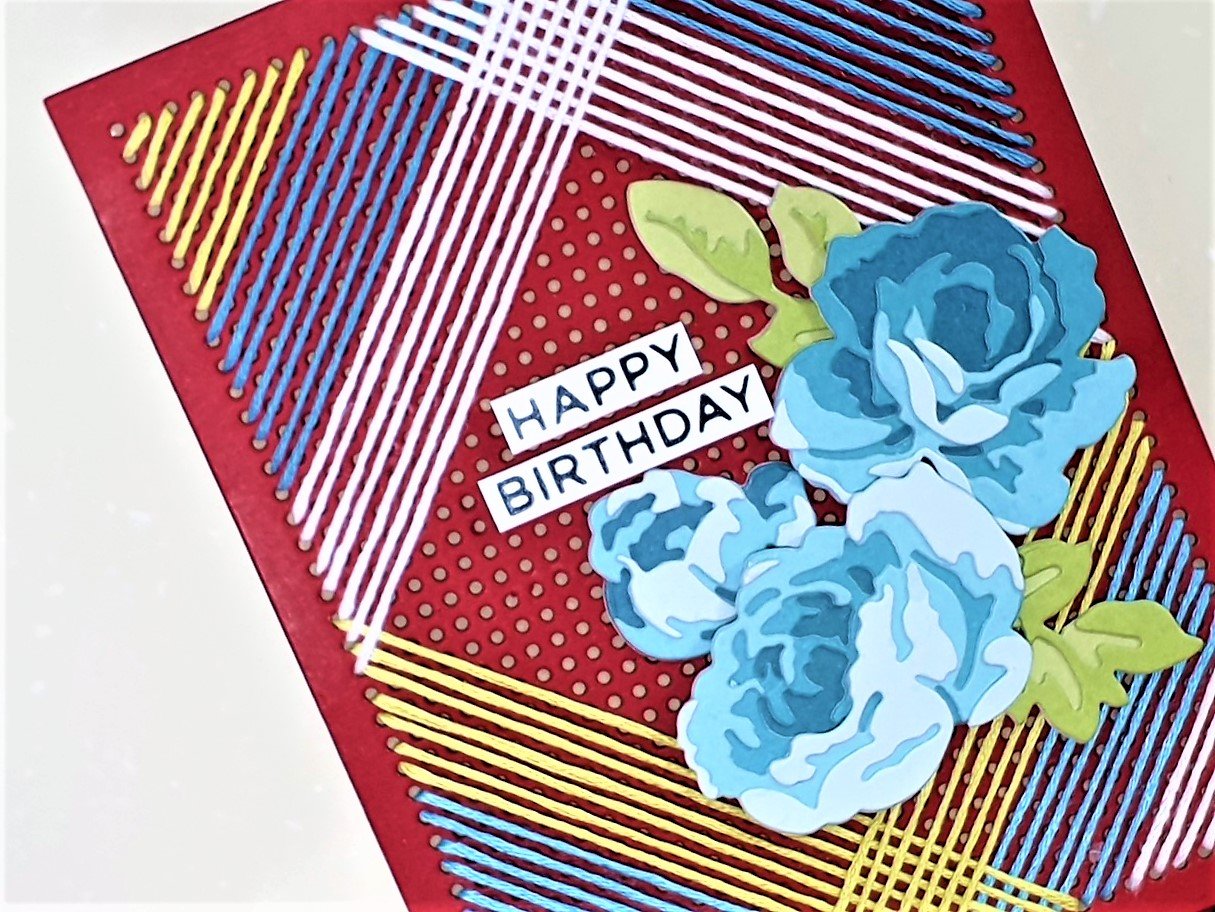
Card #4 - Happy Birthday (hot foiled)

Steps are pretty much the same as Cards #1 and #2 above, but this card uses the Pegboard Canvas Die which I absolutely adore, check this out. Here I use DMC thread with tapestry needle size 24 to stitch the ‘criss-cross’ design on the die cut card panel.
The flowers and leaves cluster is die cut with the Altenew Charming Foliage Die Set from Memory Box Fresh Aqua paper pad and Memory Box Lush Green paper pad. The sentiment is from Spellbinders Celebrate You Glimmer Sentiments Hot Foil Plate using their black foil.
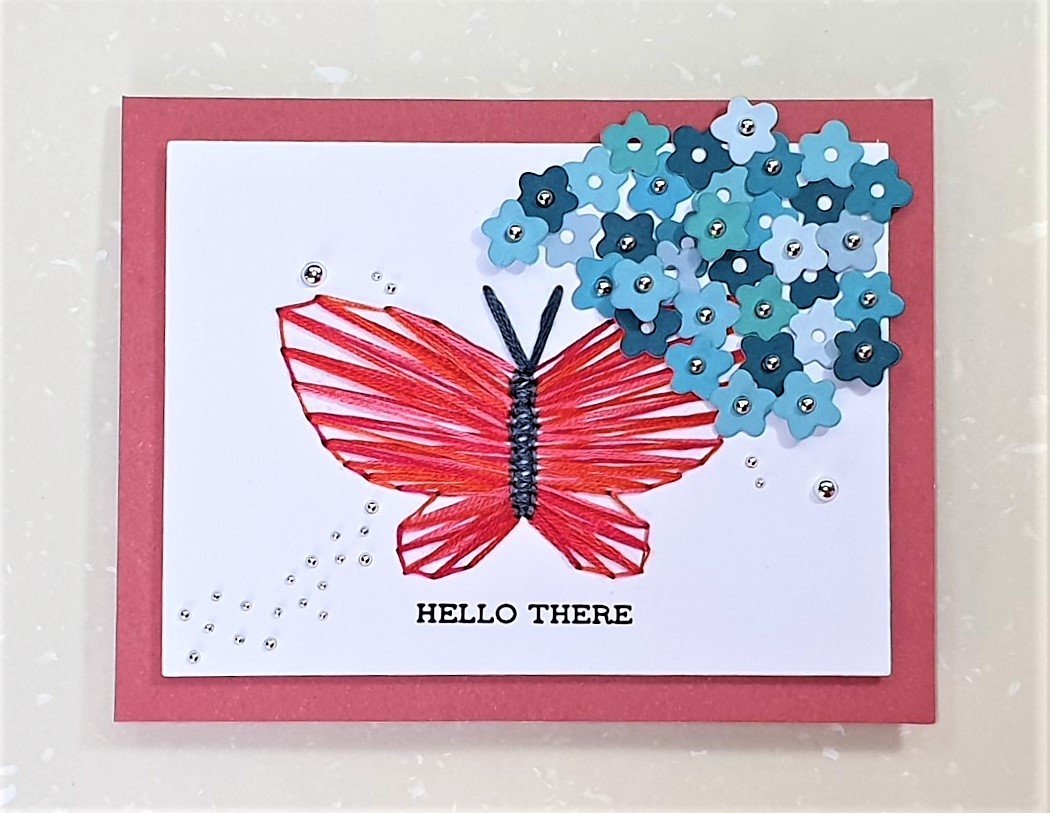
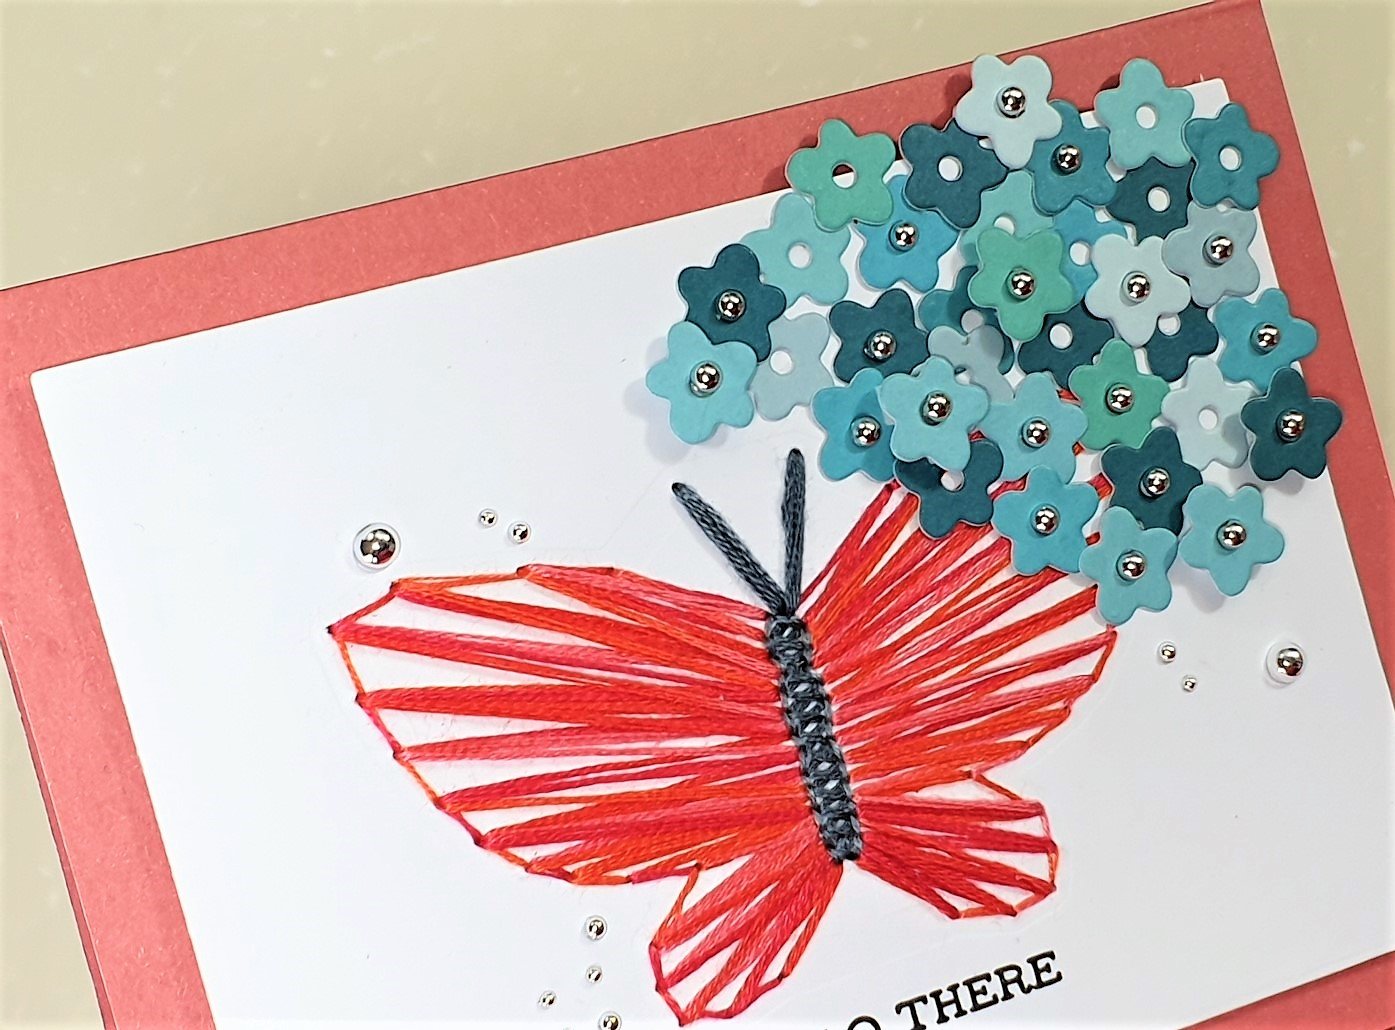
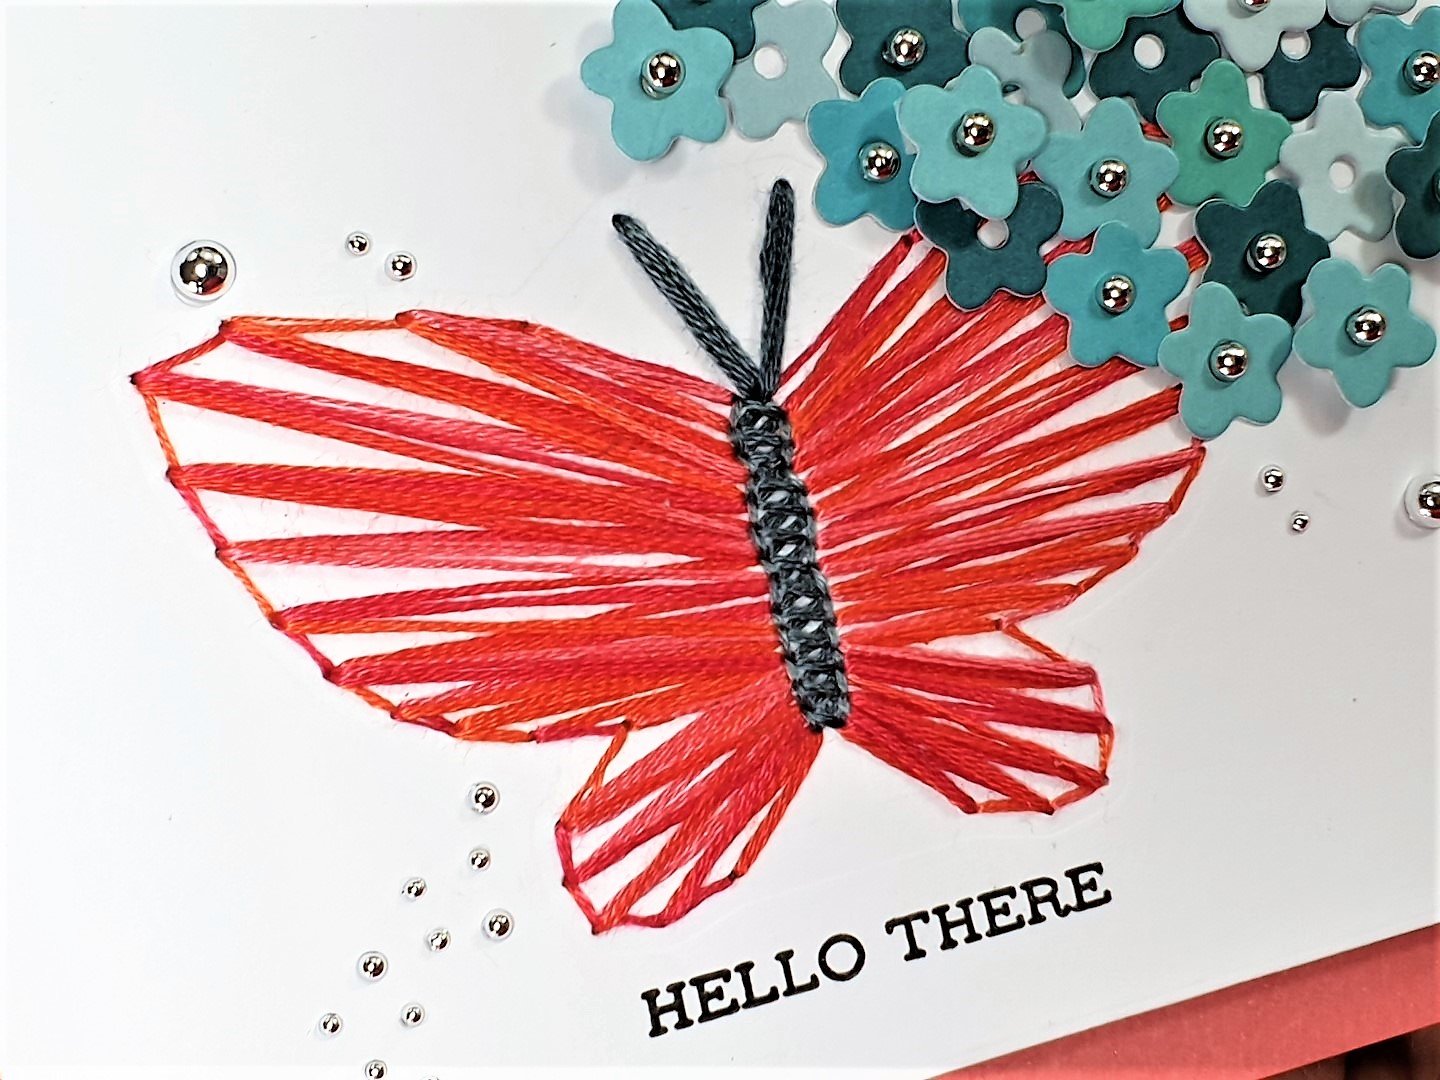
Card #5 - Hello There

Steps are pretty much the same as Cards #1 and #2 above, but this card uses the Altenew String Art Die. Here I use DMC variegated thread with tapestry needle size 26 to stitch across and along the die cut holes on the card panel.
The flowers cluster is die cut with the Spellbinders Large Die of the Month, Nov ‘21, Christmas Foliage Strip & Borders from Memory Box Fresh Aqua paper pad. The sentiment is from Altenew Sentiment Strips 3 stamp set, stamped with Altenew Obsidian Pigment Ink. Embellish card with Spellbinders Fashion Silver Embellishments using a gem picker tool and liquid glue.
Note: Though the Spellbinders Fashion Silver Embellishments comes with adhesive at the back, I add liquid glue to ensure it is secure on the card front.
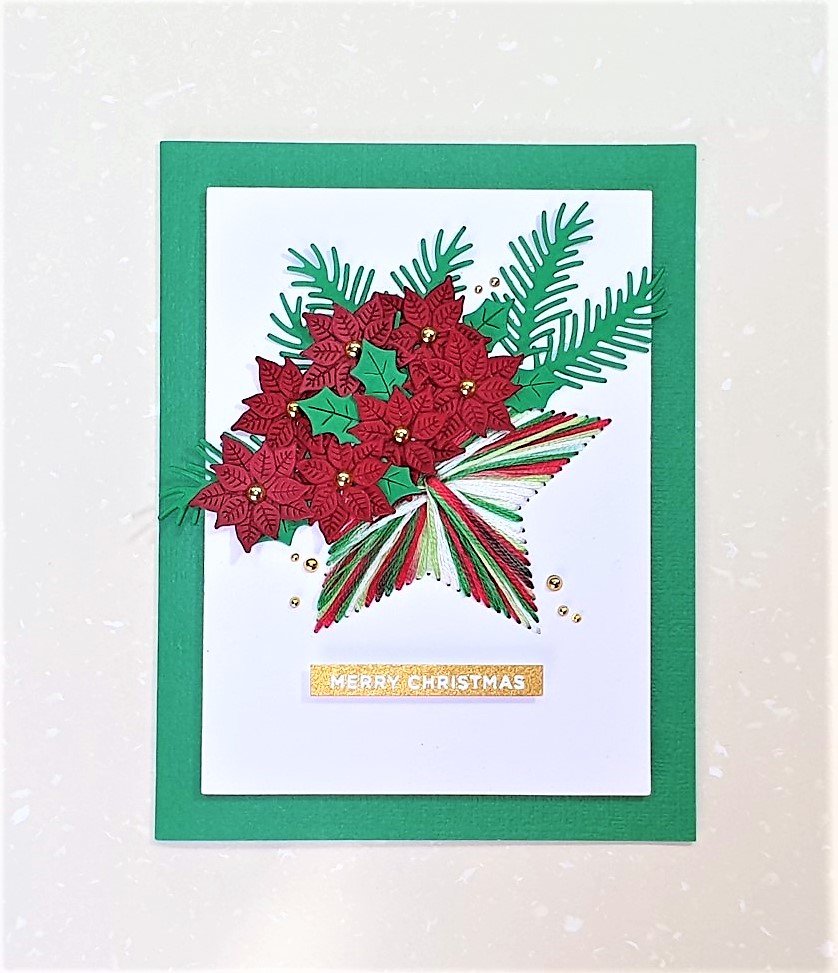
Card #6 - Merry Christmas

Steps are pretty much the same as Cards #1 and #2 above, but this card uses the Altenew String Art Die. Here I use DMC variegated thread, DMC 4520, with tapestry needle size 26 to stitch across and along the die cut holes on the card panel.
The flowers cluster is die cut with the Spellbinders Large Die of the Month, Nov ‘21, Christmas Foliage Strip & Borders. The sentiment is from Spellbinders Mini Christmas Greetings stamp set, stamp with embossing ink and sprinkle Pure White embossing powder onto stamped sentiment. Warm heat tool for 30 seconds and melt embossing powder. Cut sentiment into a strip and attach to card front with foam strip. Add Spellbinders Fashion Gold Embellishments with liquid glue and a gem picker tool to card front and card is complete!
Note: Though the Spellbinders Fashion Silver Embellishments comes with adhesive at the back, I add liquid glue to ensure it is secure on the card front.
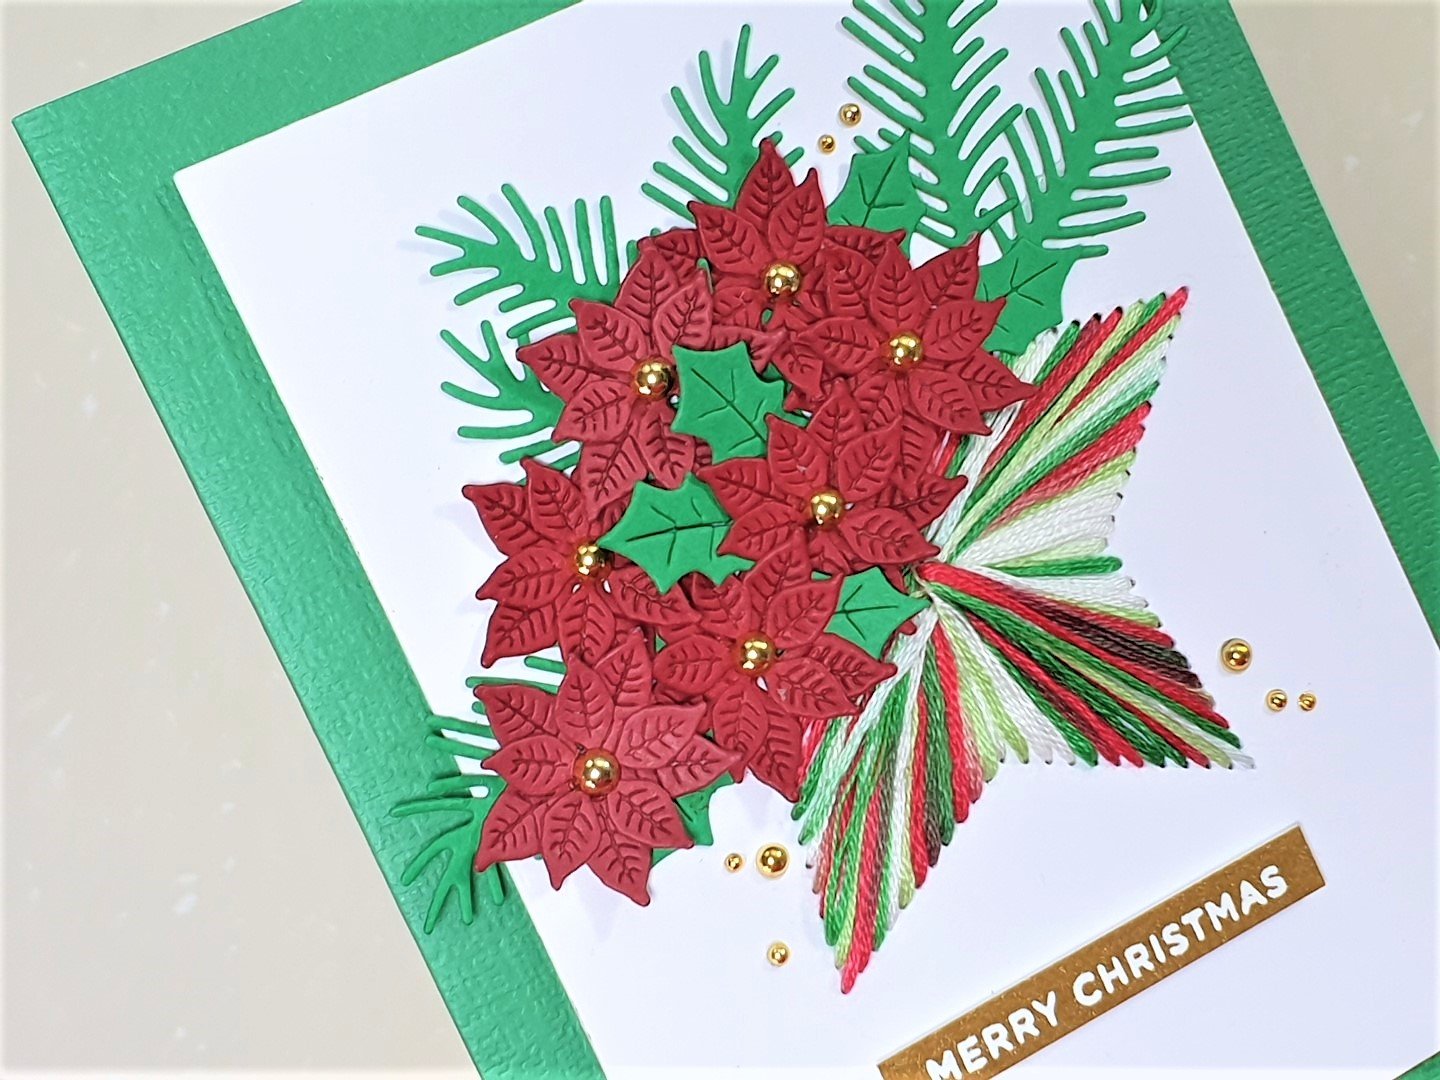
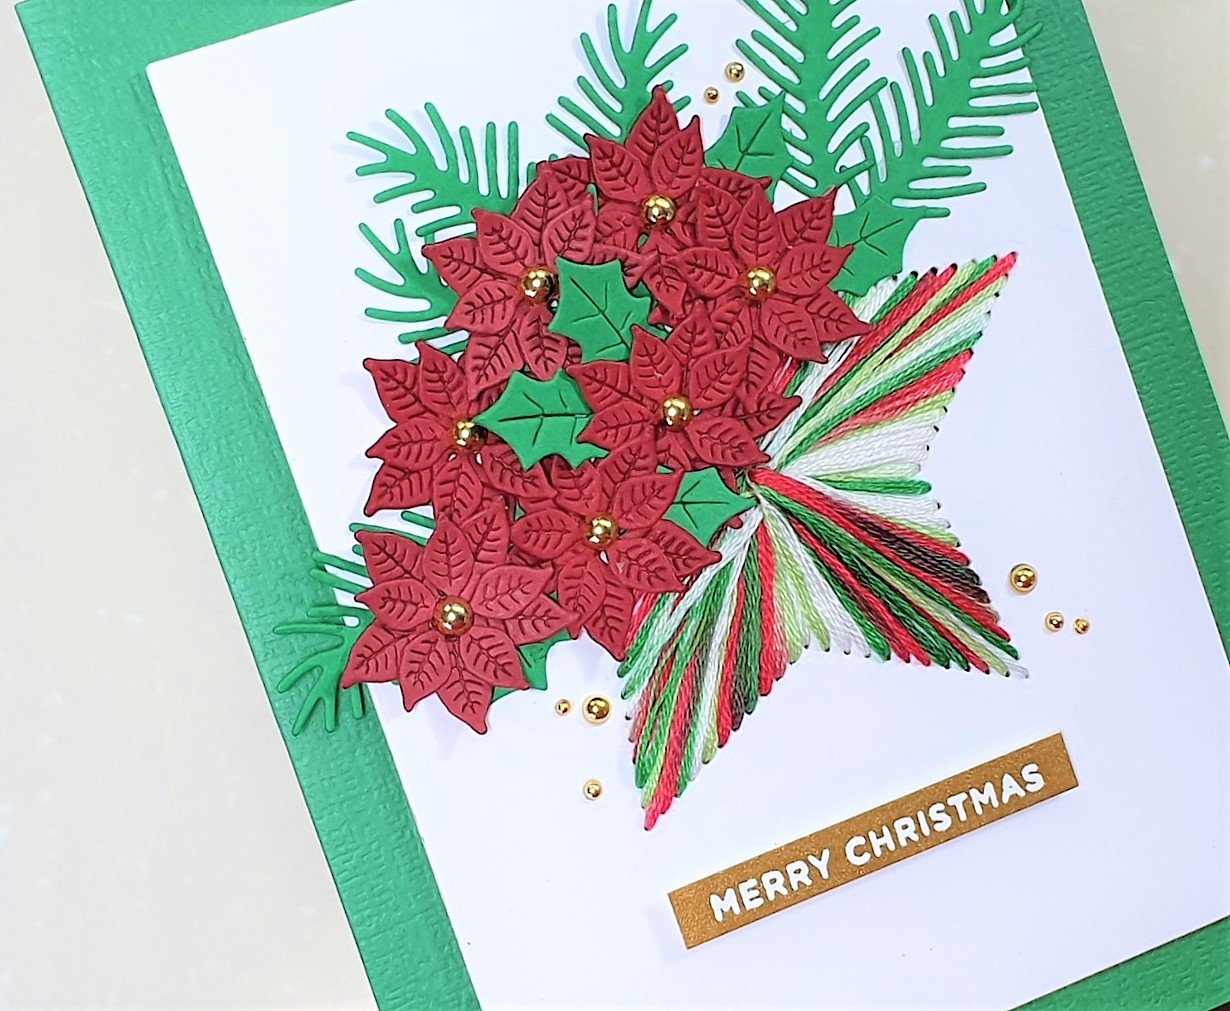
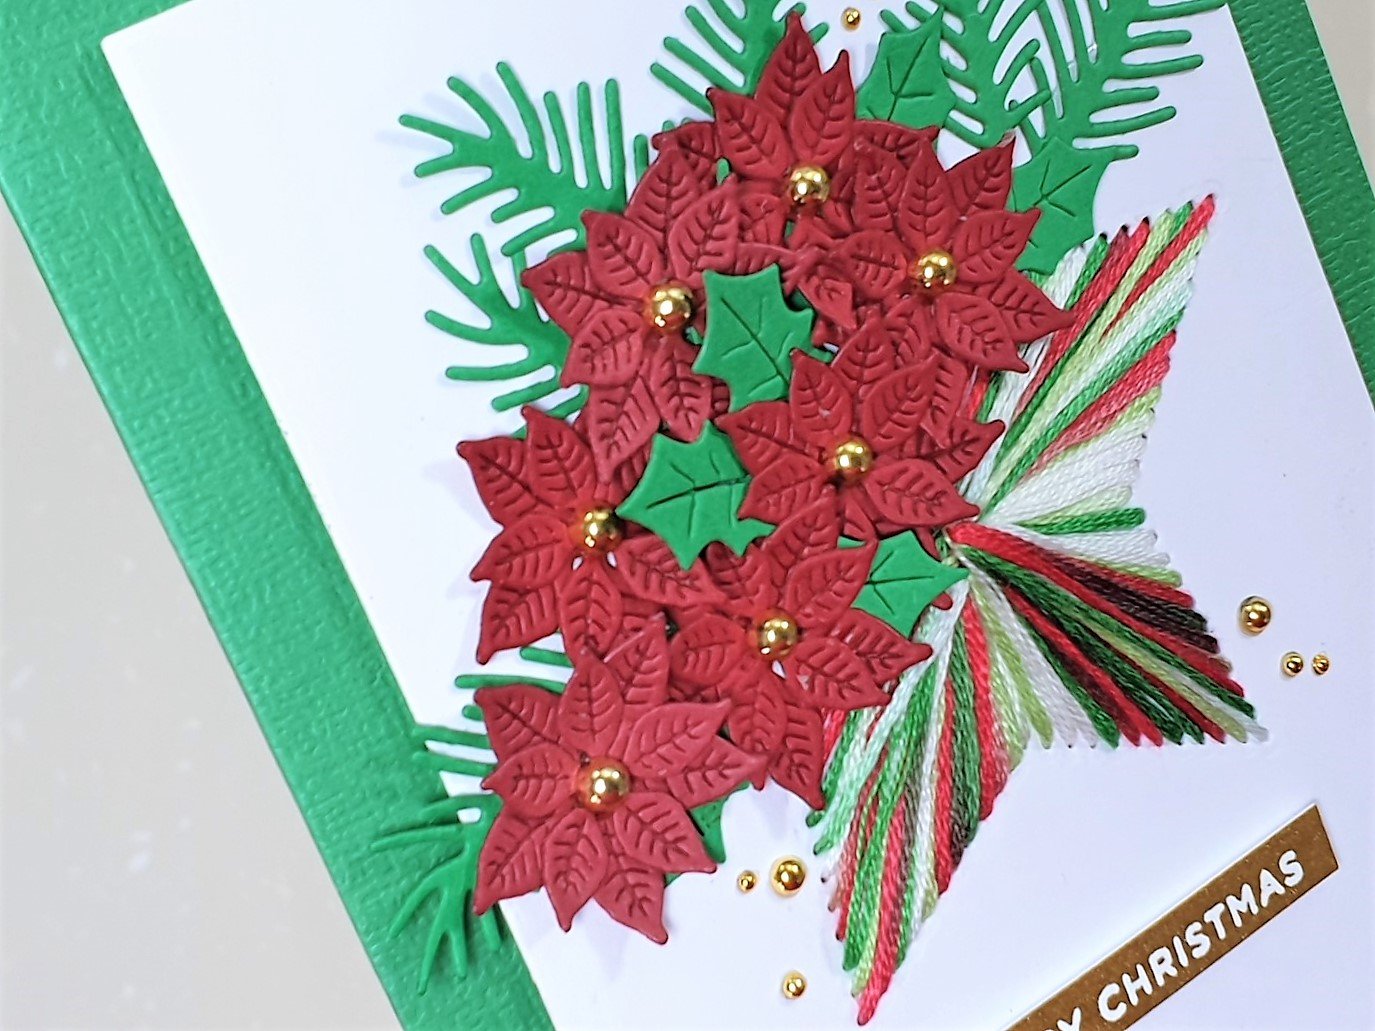
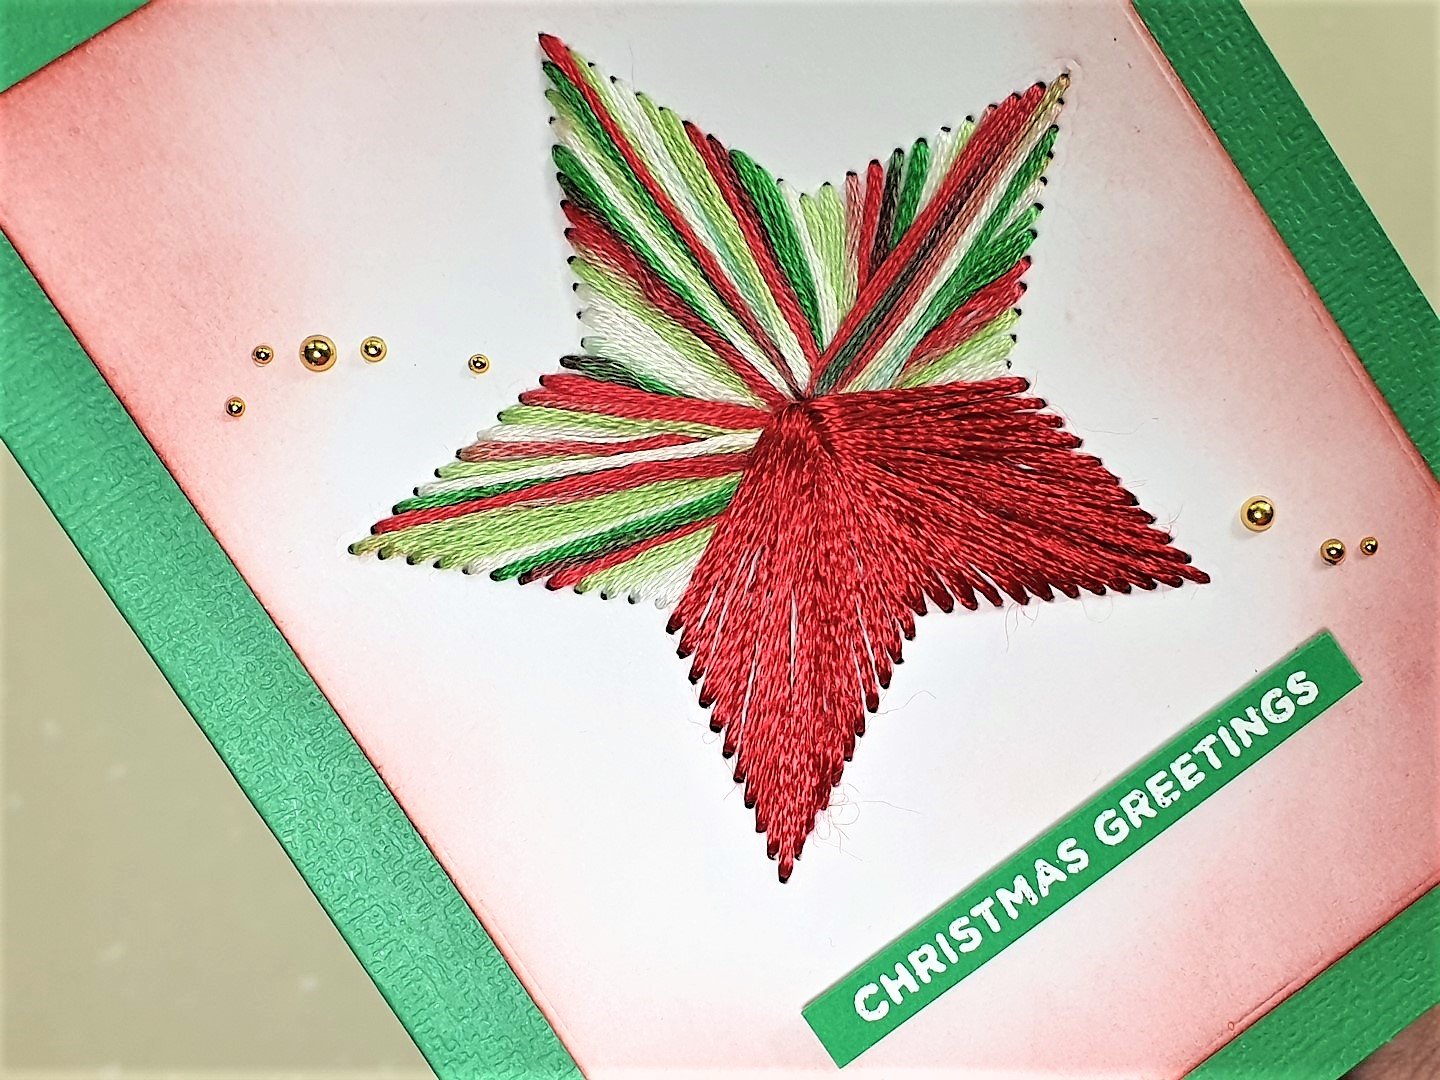
Card #7 - Christmas Greetings

Steps are pretty much the same as Cards #1 and #2 above, but this card uses the Altenew String Art Die. Here I use DMC variegated thread, DMC 4520, and DMC Satin Thread, DMC xxx with tapestry needle size 26 to stitch across and along the die cut holes on the card panel.
The flowers cluster is die cut with the Spellbinders Large Die of the Month, Nov ‘21, Christmas Foliage Strip & Borders. The sentiment is from Spellbinders Mini Christmas Greetings stamp set, stamp with embossing ink and sprinkle Pure White embossing powder onto stamped sentiment. Warm heat tool for 30 seconds and melt embossing powder. Cut sentiment into a strip and attach to card front with foam strip. Add Spellbinders Fashion Gold Embellishments with liquid glue and a gem picker tool to card front and card is complete!
Note: Though the Spellbinders Fashion Silver Embellishments comes with adhesive at the back, I add liquid glue to ensure it is secure on the card front.
Disclosure: Where available I use compensated affiliate links which means if you make a purchase, I receive a small commission at no extra cost to you. Thank you so much for your support!

Thank you for stopping by and do leave a comment if you have a query or if you just want to say hi. Have a lovely day.