Transcending Tattoo Techniques

Disclosure: Where available I use compensated affiliate links which means if you make a purchase, I receive a small commission at no extra cost to you. Thank you so much for your support!
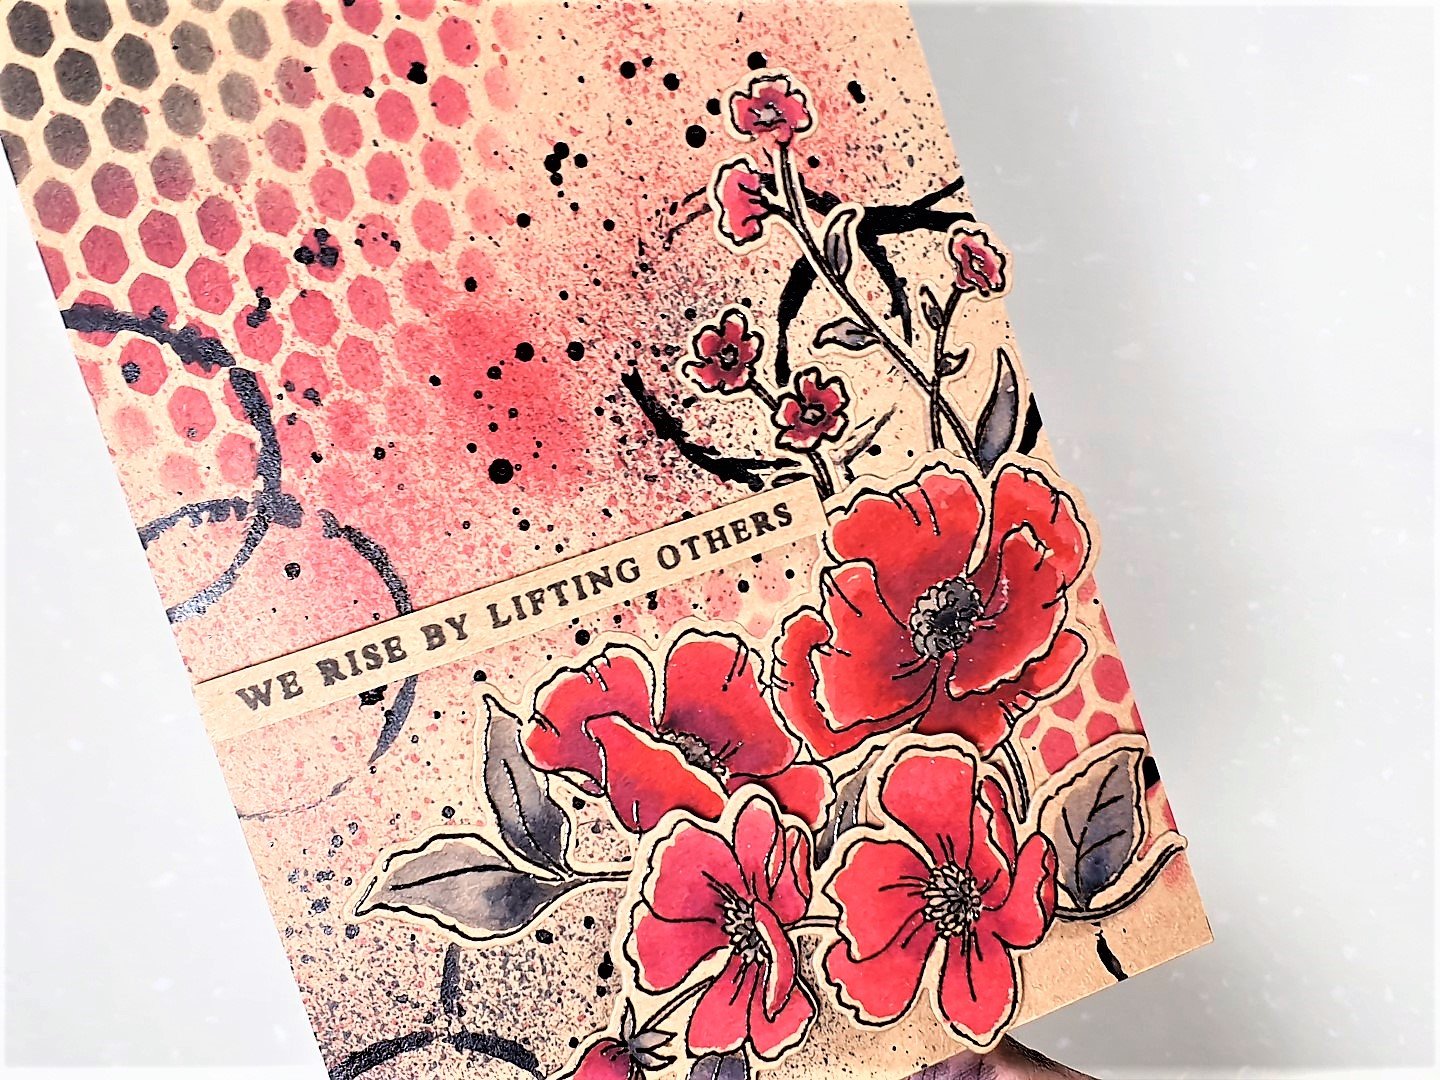
This post which includes a video shows how I use the Altenew Poppy Garden Stamp and Die Set to create two cards that are so outside my comfort zone. These cards were inspired by Jaycee Gaspar’s Transcending Tattoo Techniques Online Cardmaking Class and is a class I took as part of the Level 3 Altenew Educator Certification Program (AECP). This is an innovative class which unites the world of tattoo art and cardmaking. Though I’m not into tattoos (too afraid of needles!) I thoroughly enjoyed this class, especially the one on Trash Polka. I had not heard about it but when I googled it, I was entranced. Trash Polka is to tattoo as mixed media is to paper crafting - this is a quote from Jaycee Gaspar, which captures it very aptly.
What is a Trash Polka Tattoo?
Trash Polka is a style of tattooing created by tattoo artists Simone Pfaff and Volker Merschky. They are defined by the black and red color scheme and combine realistic imagery with abstract. The result feels modern and chaotic. There is no limit to how you choose to combine the images, though, and you can pick from a wide range of designs, including a clock, skull, rose, or eagle. True Trash Polka designs have to be done by the creators themselves, but their work has inspired countless individuals to produce designs of their own which are expressive and meaningful.
What are the rules of Trash Polka tattoos?
Trash Polka is bold and expressive. They are created by combining abstract and realistic imagery to produce designs that focus on the opposites and are beautiful but chaotic. The color palette is limited, using black and red, which creates an interesting contrast. This style is eye-catching and demands attention, but there is freedom with the subject matter you choose and how you combine it, making each design feel fresh and unique.
Check out the video below.
Cards Created
Die cut flowers & leaves
Insert thick kraft card into stamping platform and treat with anti-static powder. Stamp flowers and leaves from the Poppy Garden stamp set with Obsidian Pigment Ink. Sprinkle stamped image with Crystal Clear Embossing Powder and melt embossing powder with a heat tool.
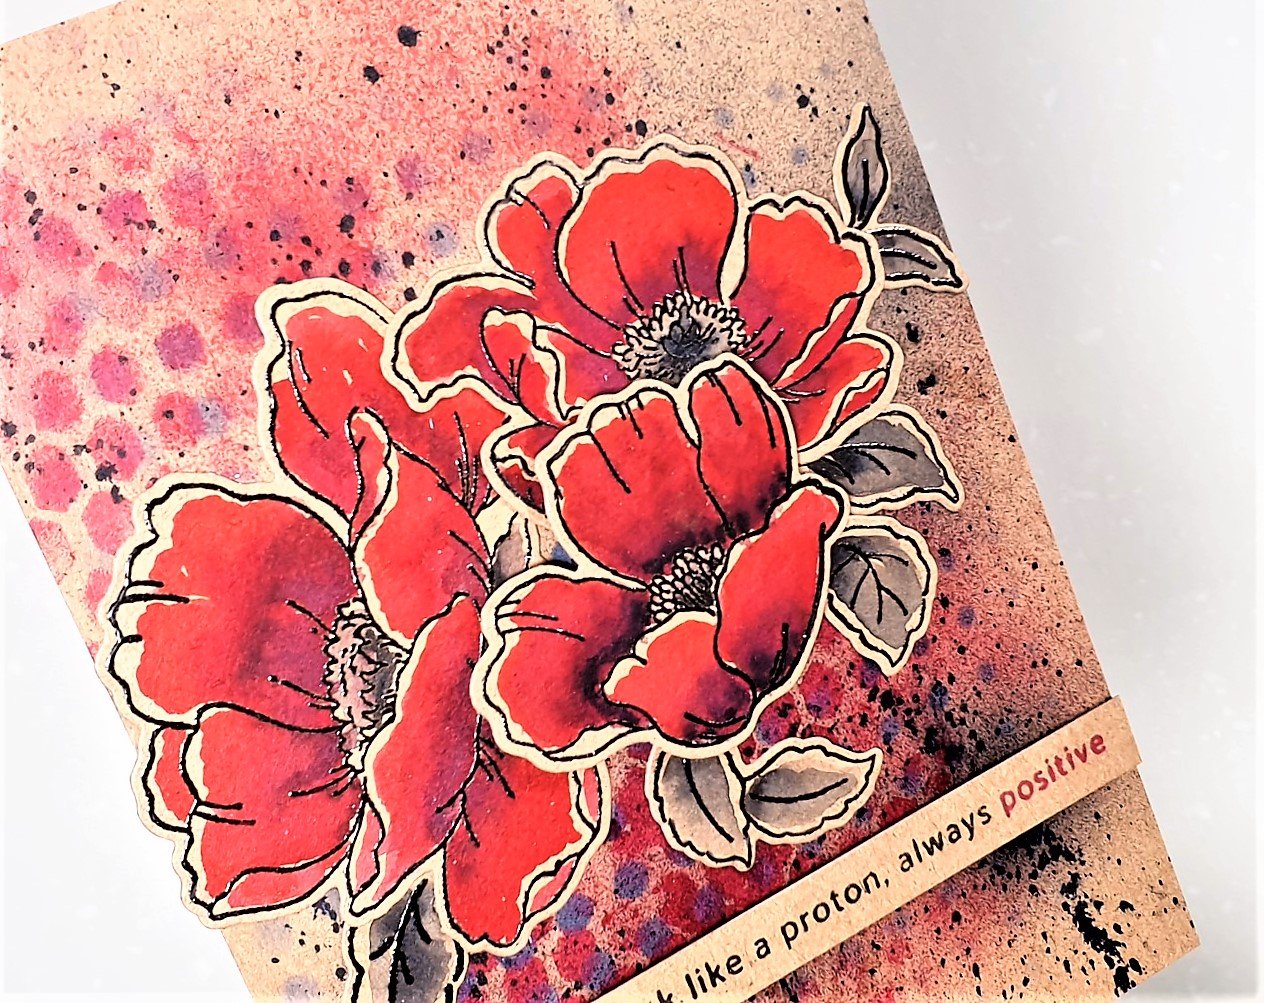
As I wanted to follow the Trash Polka designs, I choose a colour pallette that complements that type of design. Watercolor brush markers chosen are Ruby Red, Rouge, Jet Black (from Winter Wonderland set), Evening Gray (from Spring Garden set), and Crimson (from Tropical Fiesta set).
Paint flower petals with the three reds, in the following order: Ruby Red, Crimson, and Rouge, i.e. from dark to light. Do not colour to the edge of the line, leave a space at the edge - and this is actually easy and looks good overall when complete. For the leaves and flower centres, use Jet Black and Evening Gray. Then use coordinating dies to die cut the flowers and leaves using a die cutting machine. Tip: I use a Gemini Junior die cutting machine and find the perfect ‘sandwich’ for die cutting is two clear cutting plates (which comes with the machine when you purchase it) and two Gemini Junior Cutting Plates for Double-Sided Dies. This is a tip from Jennifer McGuire and proven effective for me as no need to mess about with multiple plates.
Creating the background on card base
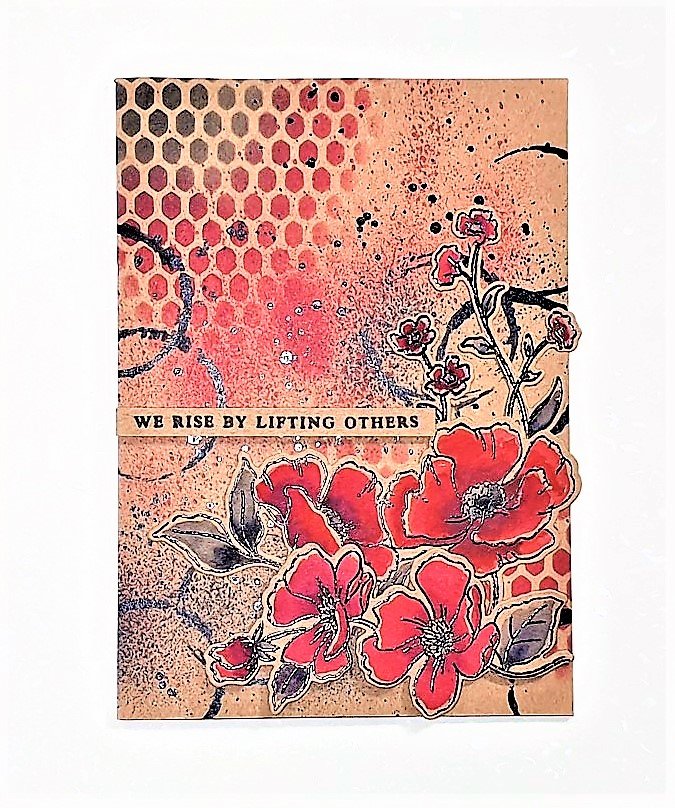
I started background with stencils, Halftone and Fine Tulle using Distress Ink Black Soot and Candied Apple as well as an ink blending tool on thick kraft card. Create splatters with Jet Black ink spray, use spray or paint brush. Tip: the bigger the brush the bigger splatters and use smaller brush for a finer splatter. Practise on scrap paper to see the splatter size and pattern you can create with different brush sizes and paint/ink consistency.
I thought the Copic airbrush look would be ideal for the Trash Polka design. There are three components required for this: Copic marker (use the chisel tip), Copic Air Grip Spray Cap, and Copic Air Adaptor. The Copic Air Adaptor is and easy and inexpensive way to achieve Copic airbrushing. The Copic markers used with this method, R27, R46, and C9. Note: I loved this style so much that after creating these two cards, I purchased an electric compressor which uses electricity. You will see me use this in future projects/videos.
I also use the cap of the Copic Air Adaptor to create circle marks with black paint. You can use anything you have to hand to create designs and patterns.
Arrange the flowers and dies on card front and ‘lift’ the floral composition with Press ‘N Seal. Add liquid glue with fine tip to some of the flowers and all of the leaves and add foam squares to the main flower for some dimension.
Sentiments
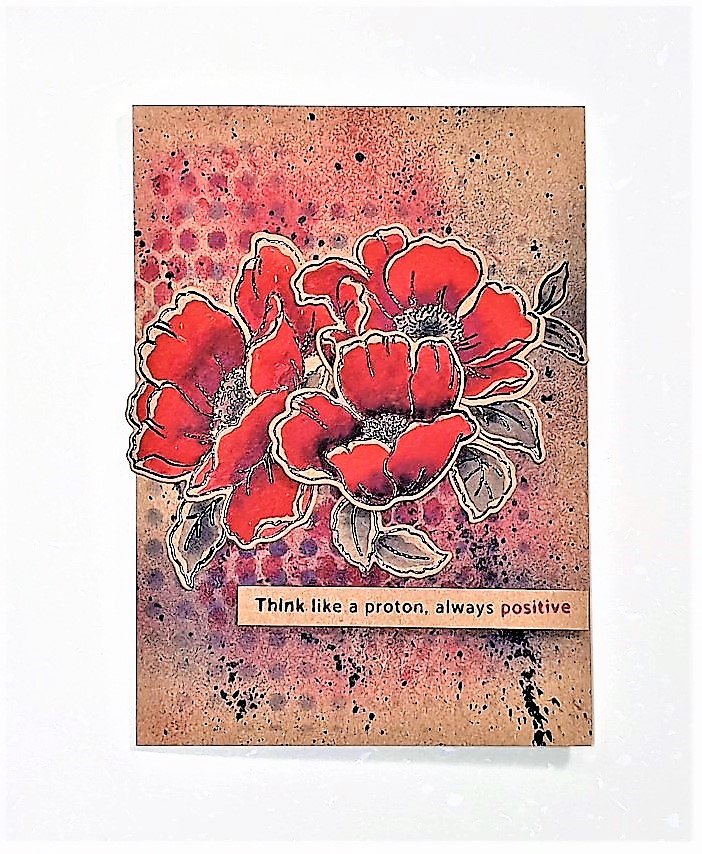
The sentiment ‘we rise by lifting others’ from BAF Gardenia stamp set, and ‘think like a proton, always positive’ from Courageous You stamp set.
For the sentiment ‘think like a proton, always positive’, I wanted the word ‘positive’ in red and the rest of the words in black. To achieve this using a stamping platform would garner better results. Follow these steps:
Place a strip of kraft card in the stamping platform and align the sentiment strip to the door of the stamping platform.
Tape off the word ‘positive’ with a cellophane tape and ink the rest of the sentiment stamp with Obsidian Pigment Ink.
Remove tape and close the stamping platform door to stamp the sentiment onto the strip of kraft card.
Clean stamp with a wet stamp shammy and ensure it’s dry.
Tape off the word before ‘positive’ and ink the word ‘positive’ with Ruby Red.
Remove tape and close the stamping platform door to stamp the red word ‘poisitve’ onto the strip of kraft card, next to the other part of the sentiment, ‘think like a proton, always’.
Achieve desired result.
Tip: This technique can also be used to stretch your sentiment stamps by creating your own sentiment phrases by combining different sentiment phrases to create a new one. The use of a stamping platform with an acetate will achieve the best results.
Trim sentiment strip and adhere to card front with a foam strip. Use a T-ruler to ensure that it is placed straight.


Disclosure: Where available I use compensated affiliate links which means if you make a purchase, I receive a small commission at no extra cost to you. Thank you so much for your support!