

Altenew Level 2 Final Challenge (Part 1) - Altered Item Project, a Craft Storage Solution
Warning: This is a long blog post :)
This post is all about my Altenew Level 2 Final Challenge submission , Part 1, which is an altered art project. I started to enjoy the challenge once I knew what to create for the altered item project - so I tackled the altered item bit first!
The Altenew Level 2 Final Challenge Ask
Select ANY 3 components from the classes in Level 1 or 2 (e.g., layering 1/2, Let it shine, stencil techniques)
Explain the 3 components that you’ve chosen for the project
Share design tips (if any)
Make four masculine (Themes are; birthday, Love/Thinking of You, Anniversary, and Encouragement)
Make an Altered Item/Upcycled Project - see here
Challenge blog post: Detailed step-by-step photo tutorial and/or YouTube video
Minimum of 10 photos (close-up and process)
Complete the assignment by 13th August 2022!
Altered Item - Storage Solution for Watercolor Brush Markers

Check out the video.
I knew I wanted to make something that would be used in my craft space, not just a decorative item that would just tick the box and never be used again. So when I got my huge delivery of Altenew Crisp Dye Ink reinkers and unpacked them…the boxes that the reinkers came in were so pretty that I knew I had to use them. At the same time, my fourth set of watercolor brush markers arrived - I got it as it was on sale!
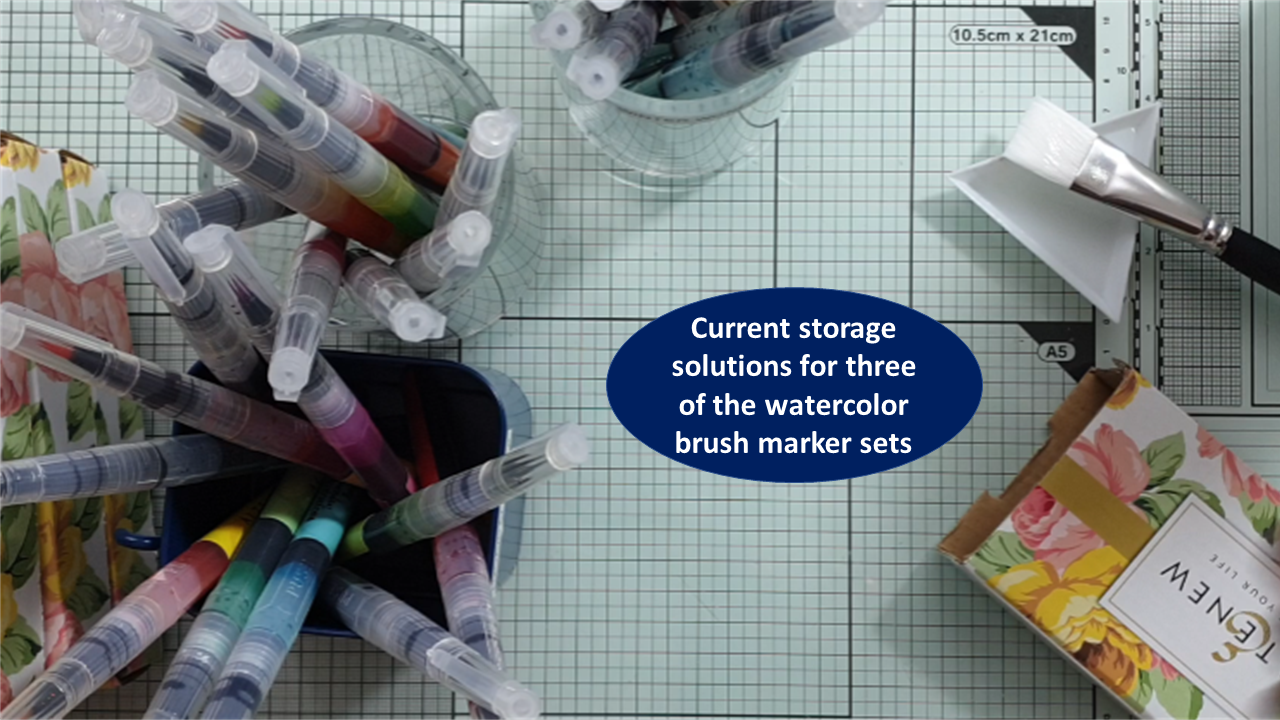

So for the altered item project, I create a storage solution for my Altenew Watercolor Brush Markers sets. I love the fact that not only is it a space saver, but it also looks so pretty in my craft space with the swatch on display, and finally it’s functional! [If you’ve been following me, you know I like to swatch everything.]

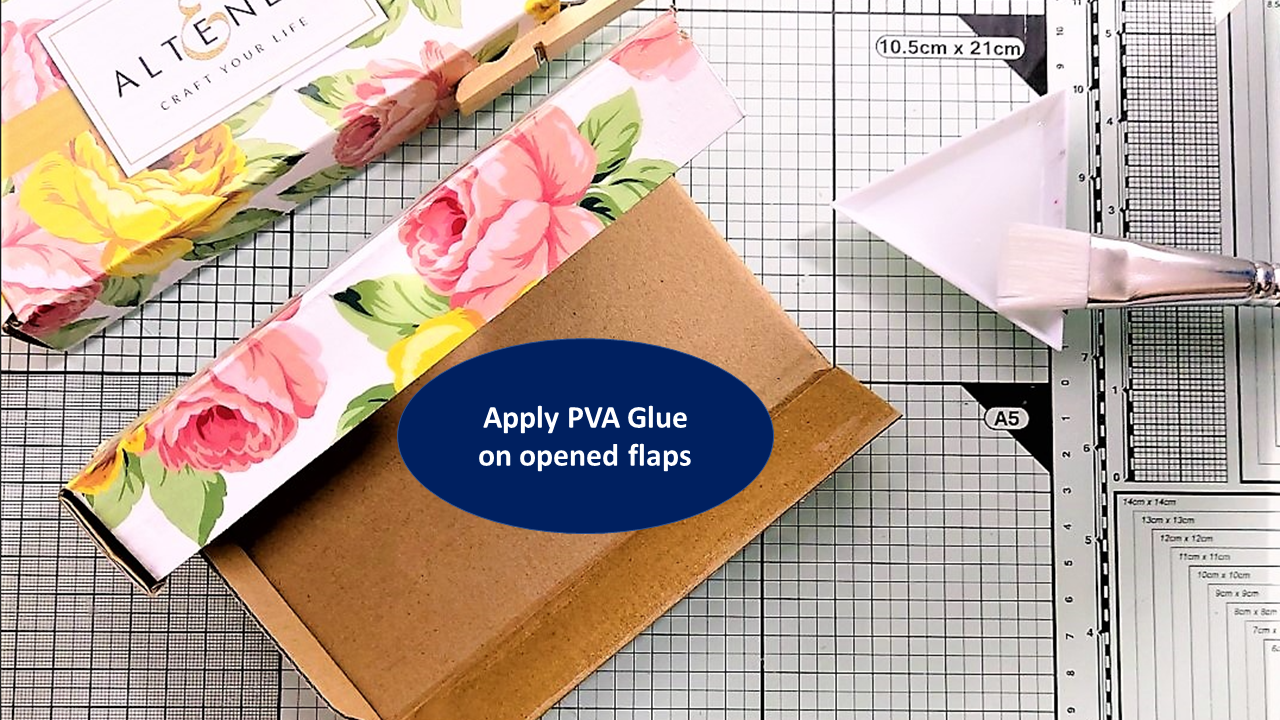
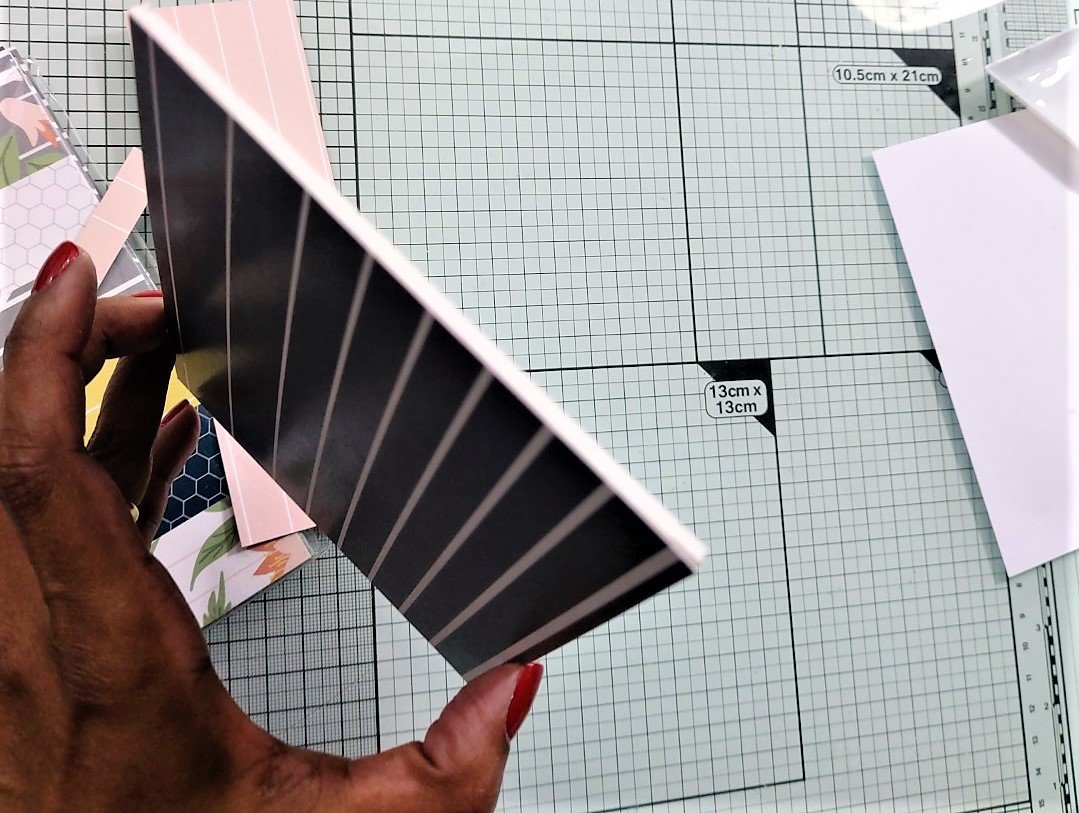
Step 1: Undo the folded top of the box. Though the box opens flat, seal the intended opening of the box and stand box on its side.
The four boxes above are going to hold each of the Altenew Watercolor Brush Markers sets, i.e. Winter Wonderland, Spring Garden, Tropical Fiesta, and Autumn Festival.
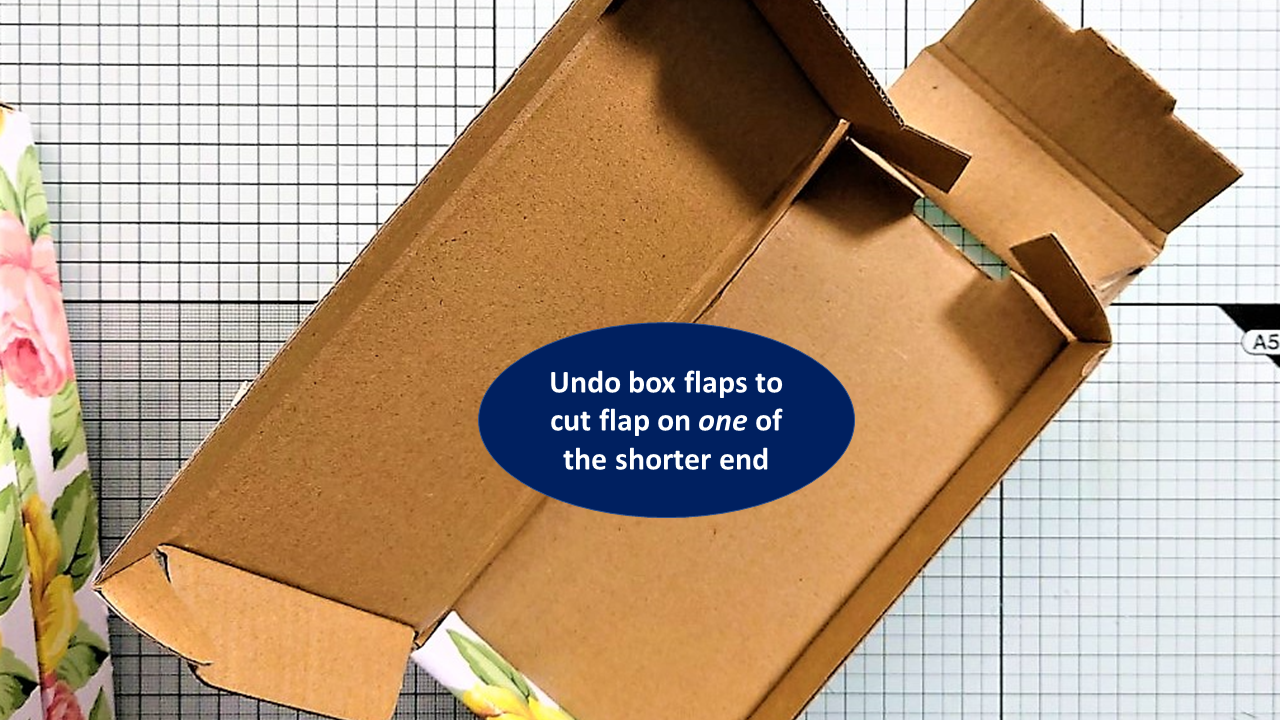
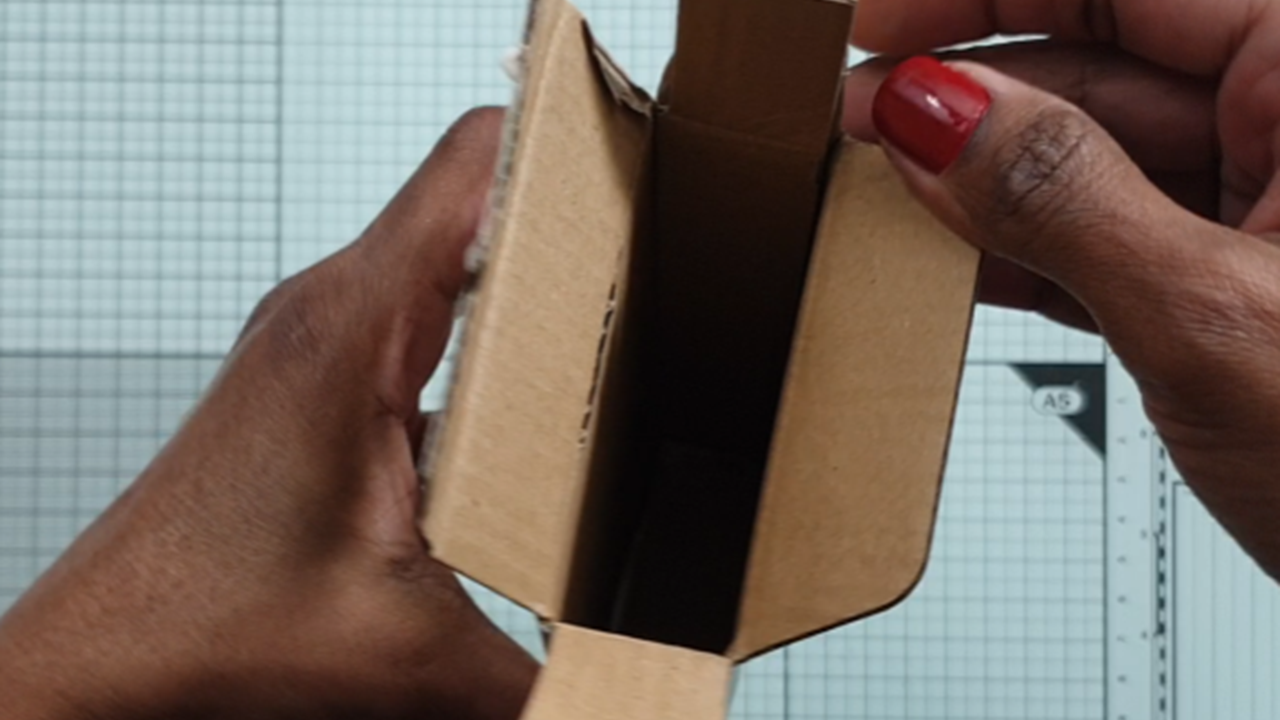
Step 2: Cut off the top flaps of the box on one of the shorter sides, then seal side opening of box with PVA Glue, using a paint brush for an even coating.
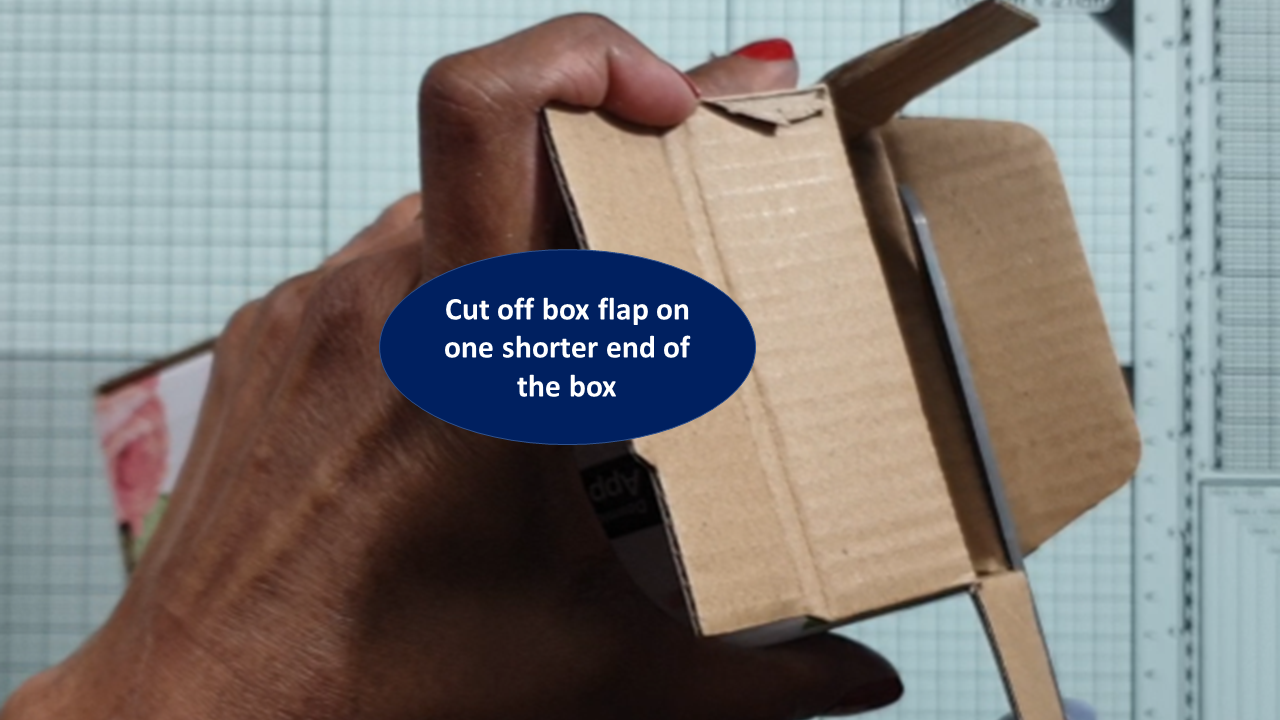
Step 3: Repeat steps 1 and 2 another three times to have four boxes for each set of Altenew Watercolor Brush Markers.
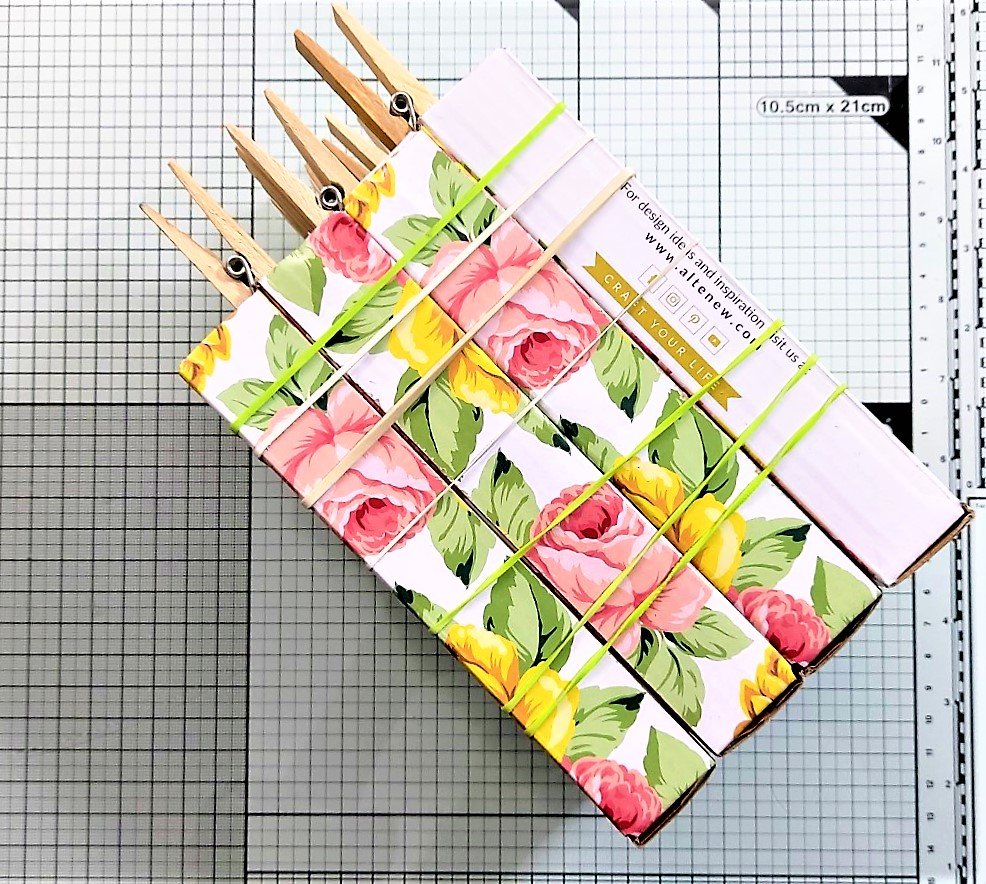
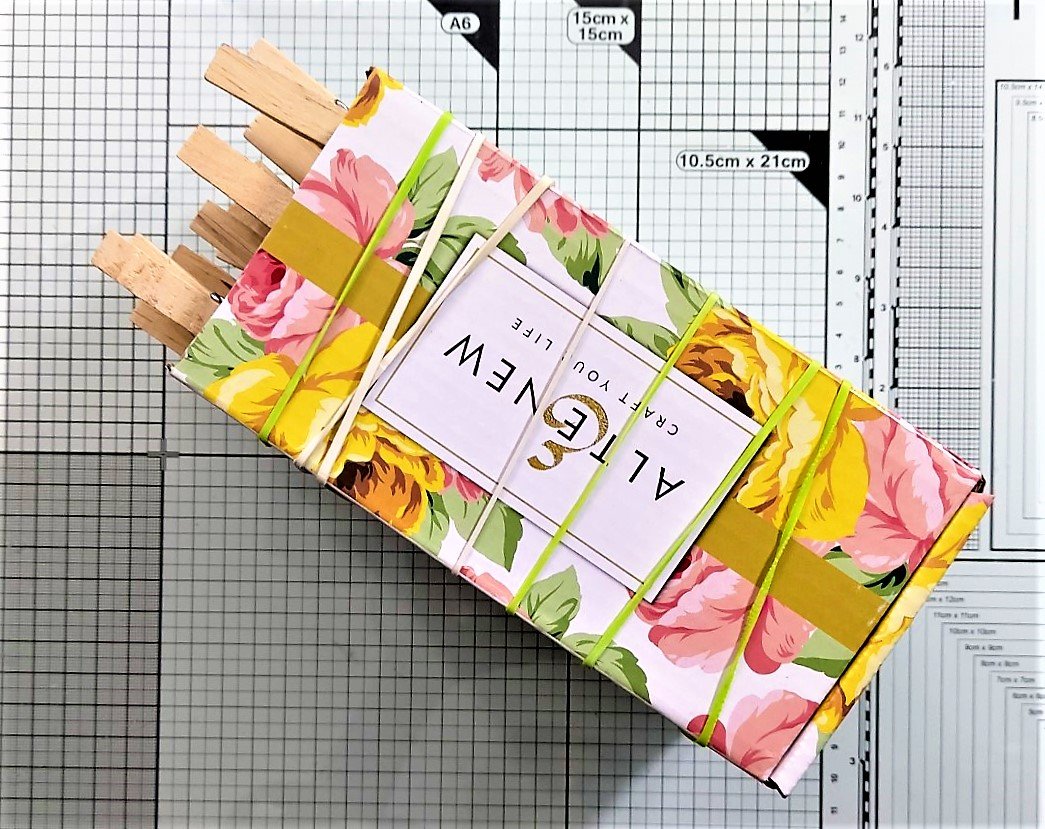
Step 4: Use PVA Glue to attach all four boxes together. Use pegs and rubber bands to ‘hold’ boxes together until glue dries. I leave glue to dry for at least 4 hours, best leave overnight to ensure robust bond.
Next to create a sturdy base for the attached boxes.
Step 5: Fashion a base for the four boxes to stabilise the storage unit.
Note: Use back of paper pads - I use the back of a watercolor block pad, which is super thick and sturdy. Measure base to be slightly bigger that area of the four boxes as they stand, about half an inch all around. Additional space all around the base of the attached four boxes will be provide necessary stability required once filled with the Altenew Watercolor Brush Markers. If you do not have thick chipboard/cardboard to hand, just adhere some thick cardstock together to create a sturdy base.

Stamped image on back of base to commemorate the creation

Weighing down the attached four boxes to the base for drying and bonding time.
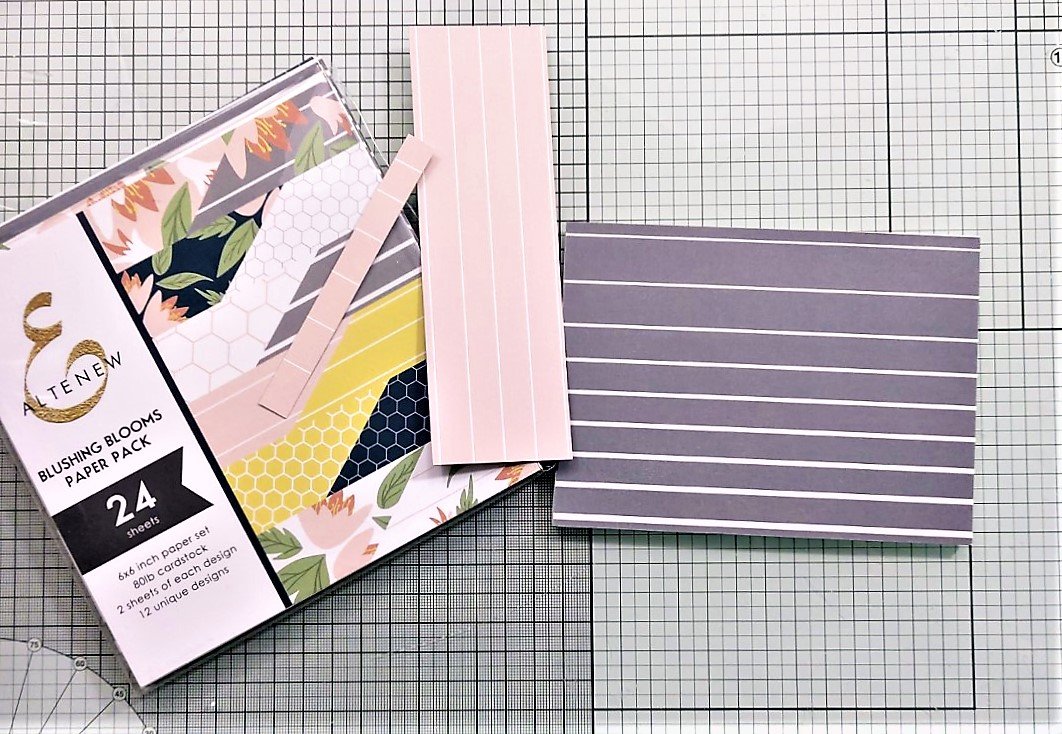
Step 6: Attach the four boxes that are now fused together with PVA Glue to the created base chipboard covered with patterned paper from Blushing Blooms 6x6 Paper Pack.
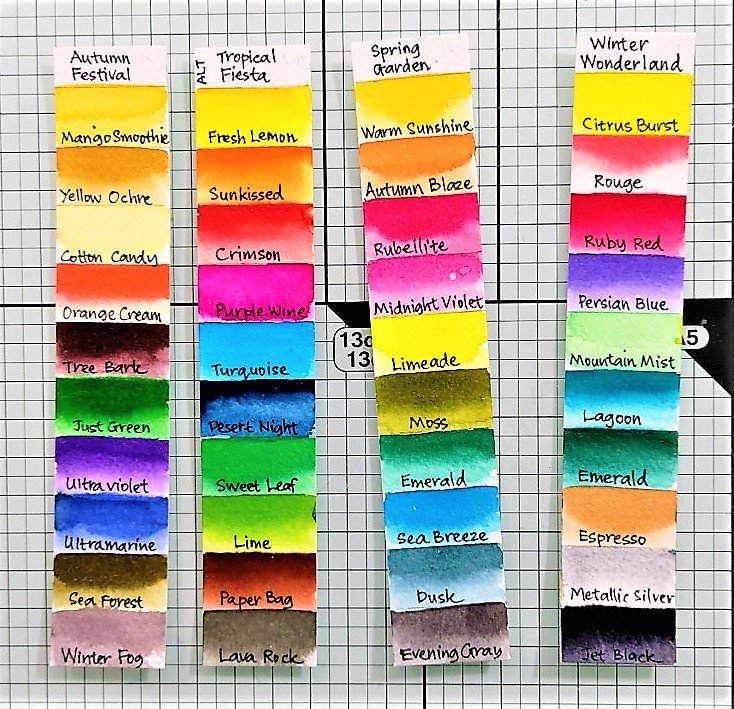
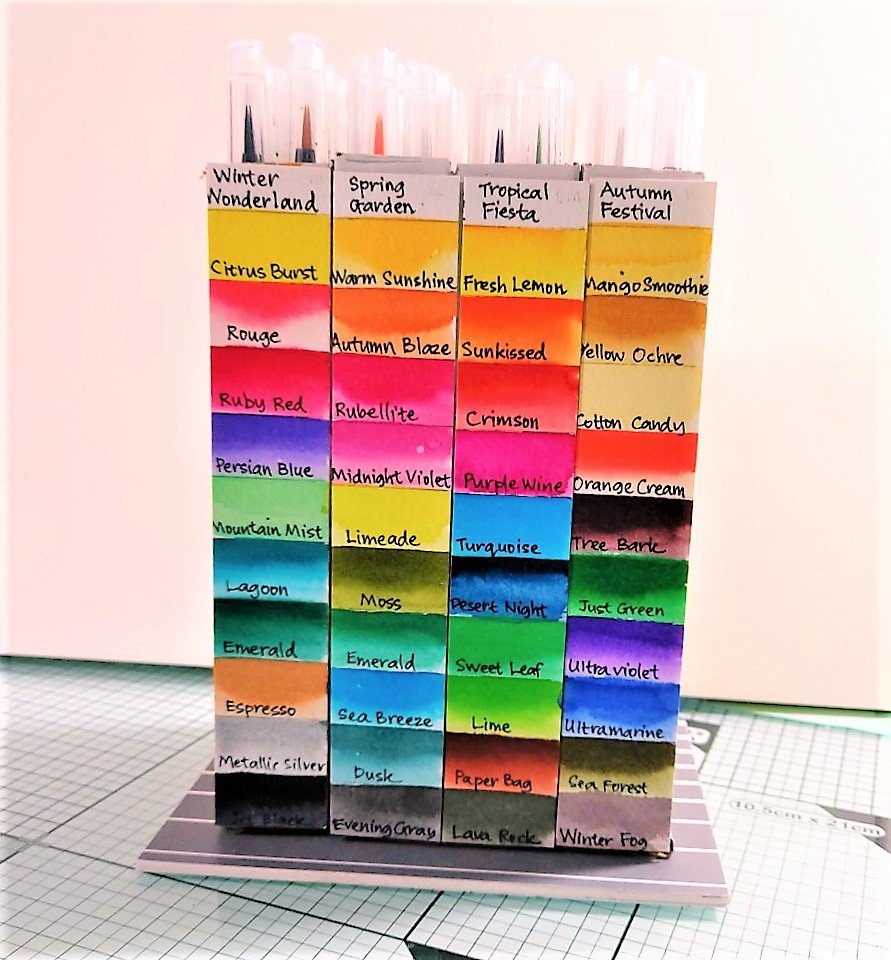
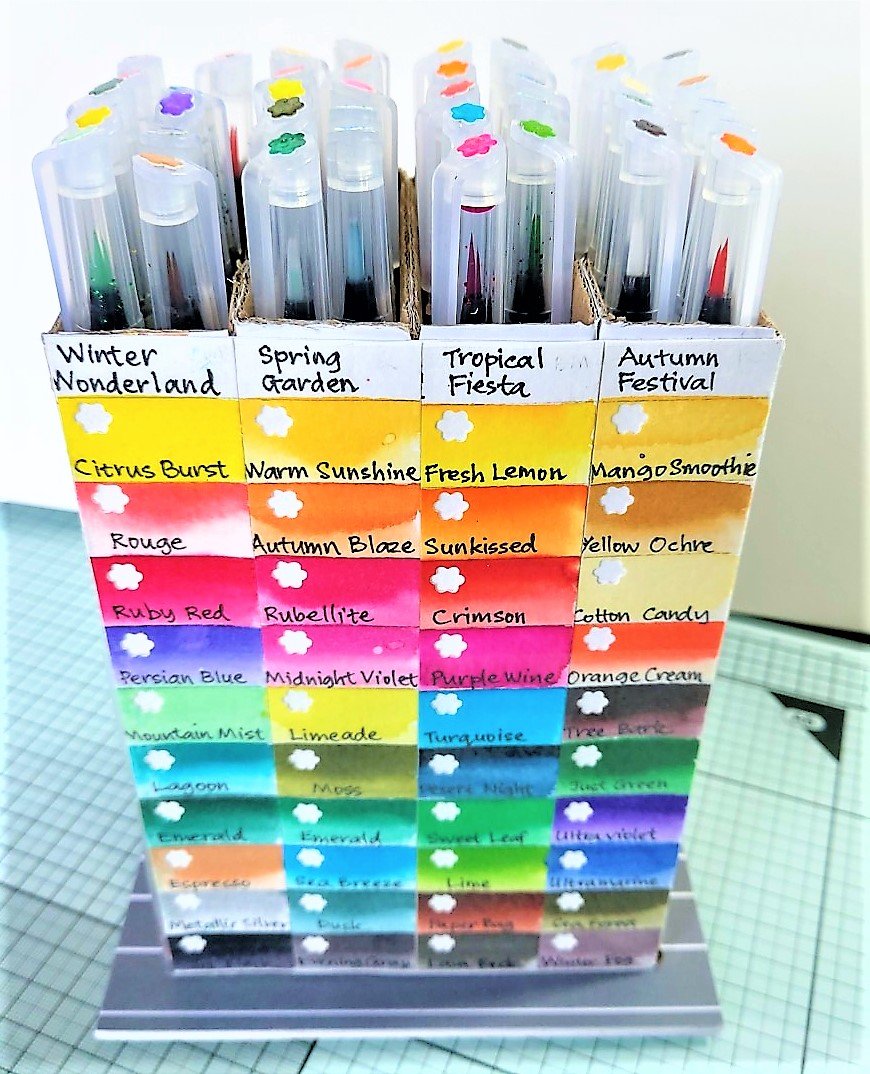
Step 7: Create a colour swatch on Watercolor Paper for each set of Watercolor Brush Markers to attach on front of the storage solution of attached four boxes.

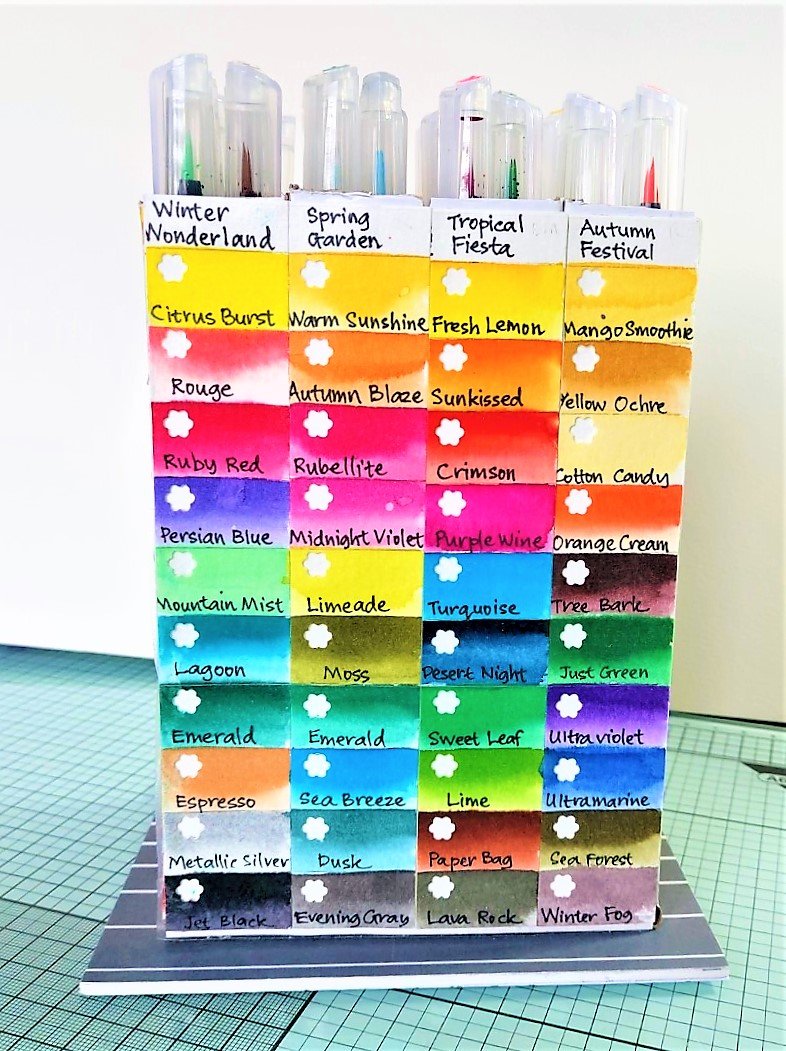
After inserting the Watercolor Brush Markers into the individual boxes by sets, I realise that it’s not easy to pick out the brush marker from each set - as I need to pull out a few brush markers to retrieve the colour I want. So I peel off the colour swatch strips (you can see the rip on the box front above) and use a handheld tiny flower punch on each colour to attach the punched out flower onto the cap of each Watercolor Brush Marker. Yes, this is a bit tedious and time consuming, but so worth it in the long run.
Then attach the colour swatch strips (now with a tiny flower hole in each colour) onto a white card and glue onto the front of the craft storage solution for the Watercolor Brush Markers.

To ensure that the colour swatches on each of the caps are not smudged or contaminated, I squeeze a tiny bit of Glossy Accents on each of the tiny flowers to water-proof it.
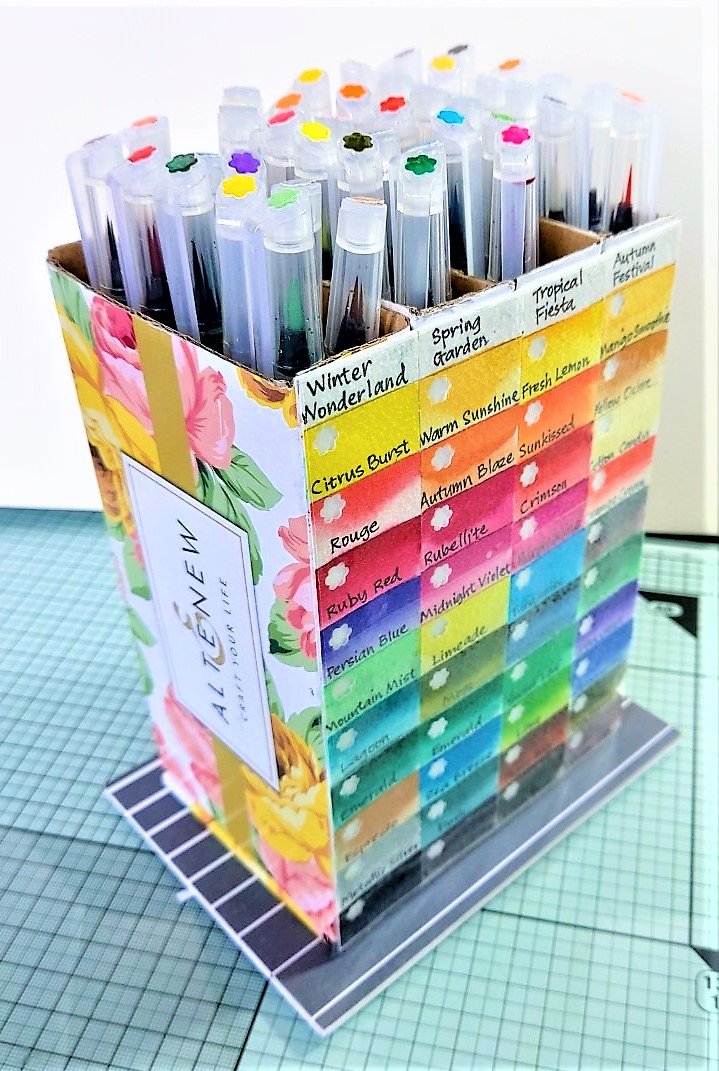

Also cover colour swatch on front of the craft storage solution for the Watercolor Brush Markers with a book cover film to water-proof it as well.
I am very pleased how this storage solution for my Watercolor Brush Markers turned out. Hope you’ve been inspired to create unique solutions for your craft products in your craft room/space.
Thanks so much for stopping by and do leave me a comment below if you have a query, comment, observation, or just want to say hi!