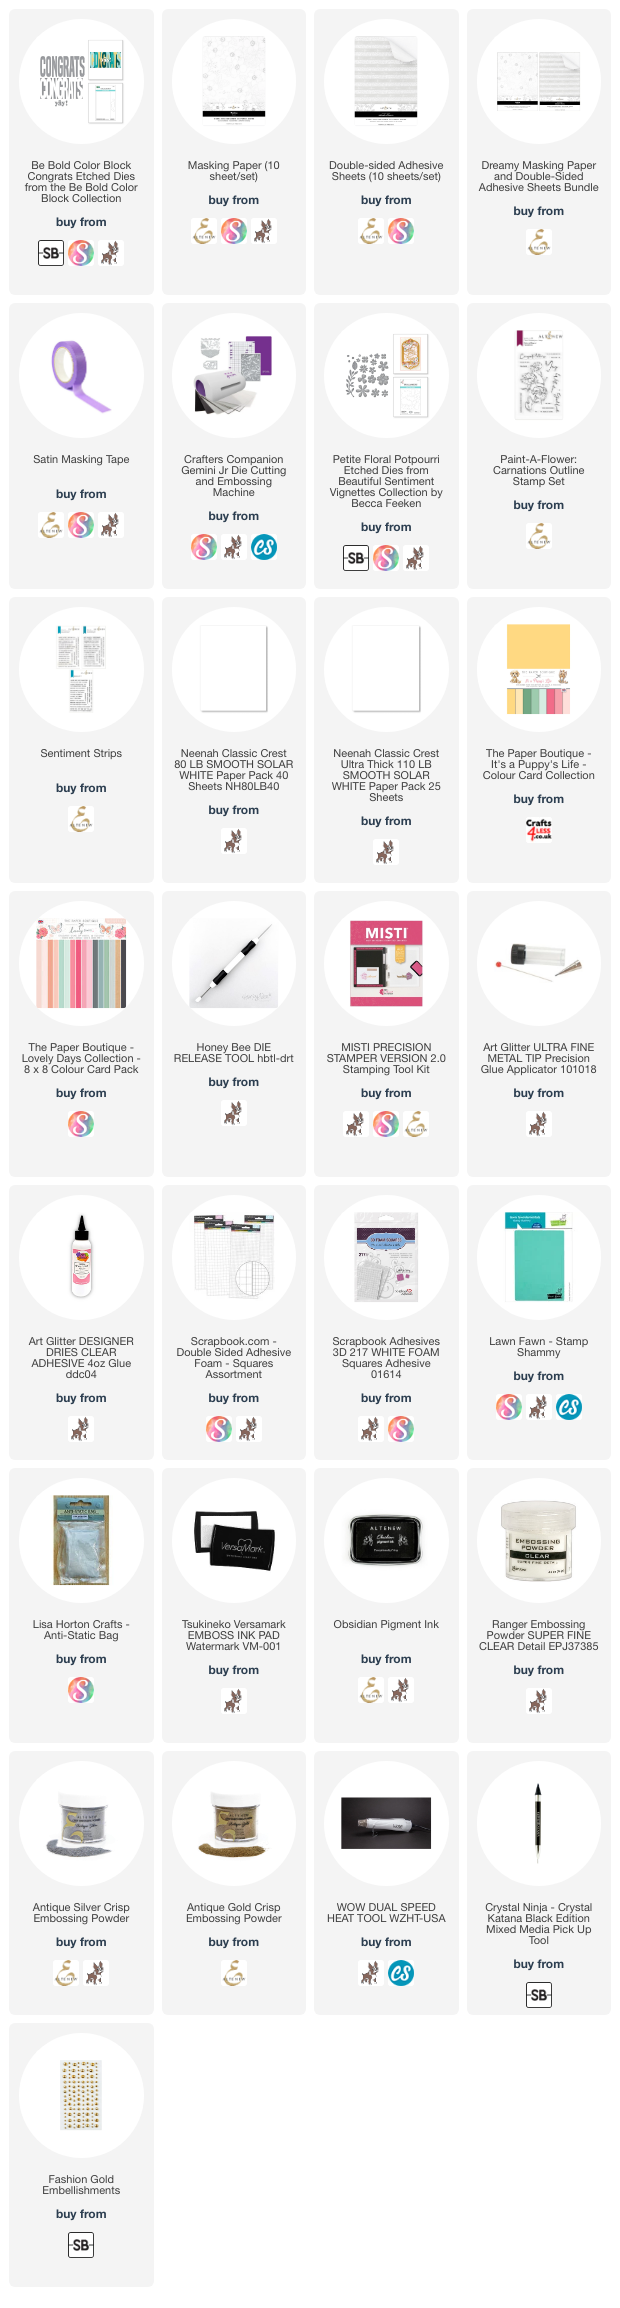
Spellbinders Be Bold Block Congrats, 4-in-1 card sets

Disclosure: Where available I use compensated affiliate links which means if you make a purchase, I receive a small commission at no extra cost to you. Thank you so much for your support!
This post which includes video shows how I make 4 cards at the same time with Spellbinders Be Bold Color Block Congrats die, by choosing four complementary colours. I hope you enjoy the video where I show how this can be done efficiently with the use of double-sided adhesive sheets and masking paper.
I will decorate each card further when the occasion arises. I initially embellish three cards with additional sub-sentiment(s) to cater for each congratulatory celebration. (1) The graduation card is for my nephew who will graduate from university in the summer, (2) the ‘I knew you could do it’ card is for my sister who recently completed her first half marathon run, and (3) the wedding card is for a colleague.
Do check out the video below.
First batch of four cards

1. Initially cut out the following in the dimension of 6.5” by 3.5”:
Four complementary cardstock colours - in this instance I use The Paper Boutique It’s a Puppy’s Life Coloured Card, 200GSM
2. Apply the double-sided adhesive sheets on the 80lbs card, and then remove the backing sheet on the other side and adhere the 110lbs card. Repeat this another three times.
3. .Place the Spellbinders Be Bold Color Block Congrats die on the 80lbs card side, adhere with low tack tape and run through die cutting machine. Due to the thickness of card (two cards and double-sided adhesive sheet) it will not cut through but leave a very clear impression of ‘CONGRATS’. Repeat this another three times.
4. Then it’s time to die cut the coloured cardstock. Place the Spellbinders Be Bold Color Block Congrats die on the coloured cardstock, adhere with low tack tape and run through die cutting machine. Carefully remove die cutting plates and Spellbinders Be Bold Color Block Congrats die, the die cuts should all be on the cutting plate together. Place one piece of the masking paper on the die cuts and press firmly. All the die cut pieces should be attached to the masking paper. Carefully lift the masking paper off the cutting plate and flip it over. Place another piece of masking paper to the back of the die cuts, then remove the masking paper from the front of the die cuts. Repeat this another three times.
5. When all of the die cutting is complete, cut 4 pieces of double-sided adhesive sheets measuring 6.25” by 3.25”. Remove backing sheet and place on top of the die cut 80lbs card which has a clear impression of ‘CONGRATS’ from step #3 above.
6. Remove coloured die cuts on the masking paper and adhere to card fronts which already has double-sided adhesive sheets on it so the pieces are easily affixed. Then you have four card fronts with ‘CONGRATS’ ready to be adhered to card bases of 6.25” by 3.25” and embellish accordingly.
7. Sub-sentiment for card comes from Altenew’s Paint-A-Flower Carnations stamp.
8. Watch video from minute 13:25 to create custom sized envelopes using the We R Makers Envelope Punch Board - so easy to create beautiful envelopes.


Second batch of four cards

Same steps as above. Products used as follows:
The Paper Boutique Nouveau Lovely Days Coloured Card, 160GSM
Spellbinders Petite Floral Potpourri die set


Third batch of four cards

Same steps as above. Products used as follows:
Crafter’s Companion All Occasions Brights Card, 300GSM
Spellbinders Petite Floral Potpourri die set
Altenew Sentiment Strips 3 stamp set


Disclosure: Where available I use compensated affiliate links which means if you make a purchase, I receive a small commission at no extra cost to you. Thank you so much for your support!