

Distress Card - Steampunk
This post is for a card for the Male Room Blog Steampunk challenge.
Firstly I had to look up ‘steampunk’ as I did not know what it meant - so rather than guess from the DT sample card, I decided to google it.

Steampunk is a retrofuturistic subgenre of science fiction that incorporates technology and aesthetic designs inspired by 19th-century industrial steam-powered machinery. Steampunk fashion consists of clothing, hairstyling, jewelry, body modification and make-up
Here’s an article by Huffington Post that explains steampunk, for those interested.
Initially this card was a little daunting and then when I started to research a little on ‘steampunk’ a few ideas started forming and I knew distress inks would be used in the making of this card. Also I’d be digging out some of the Tim Holtz idea-olgy items that I had bought oh-so long ago and still not used. So here are the three cards that I made - yes I know it’s overkill to make three cards, but what can I say, I got carried away.

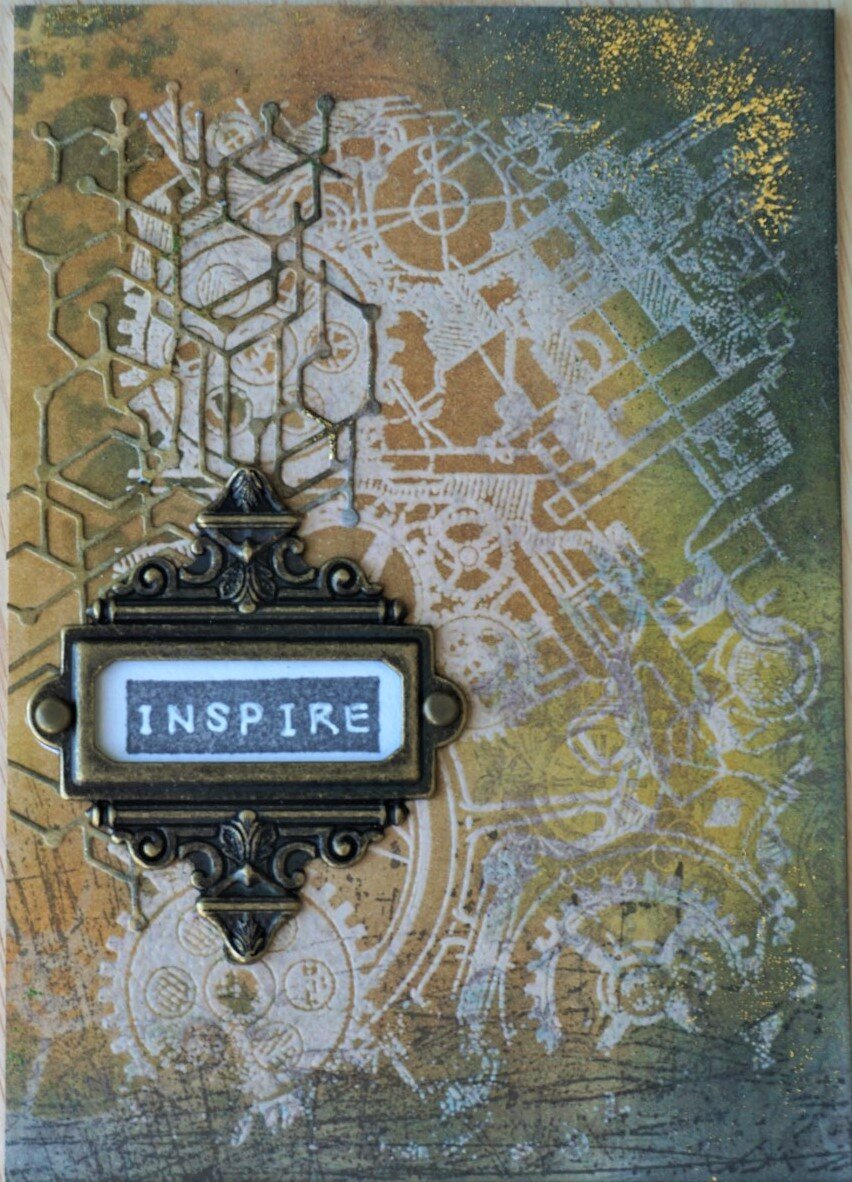
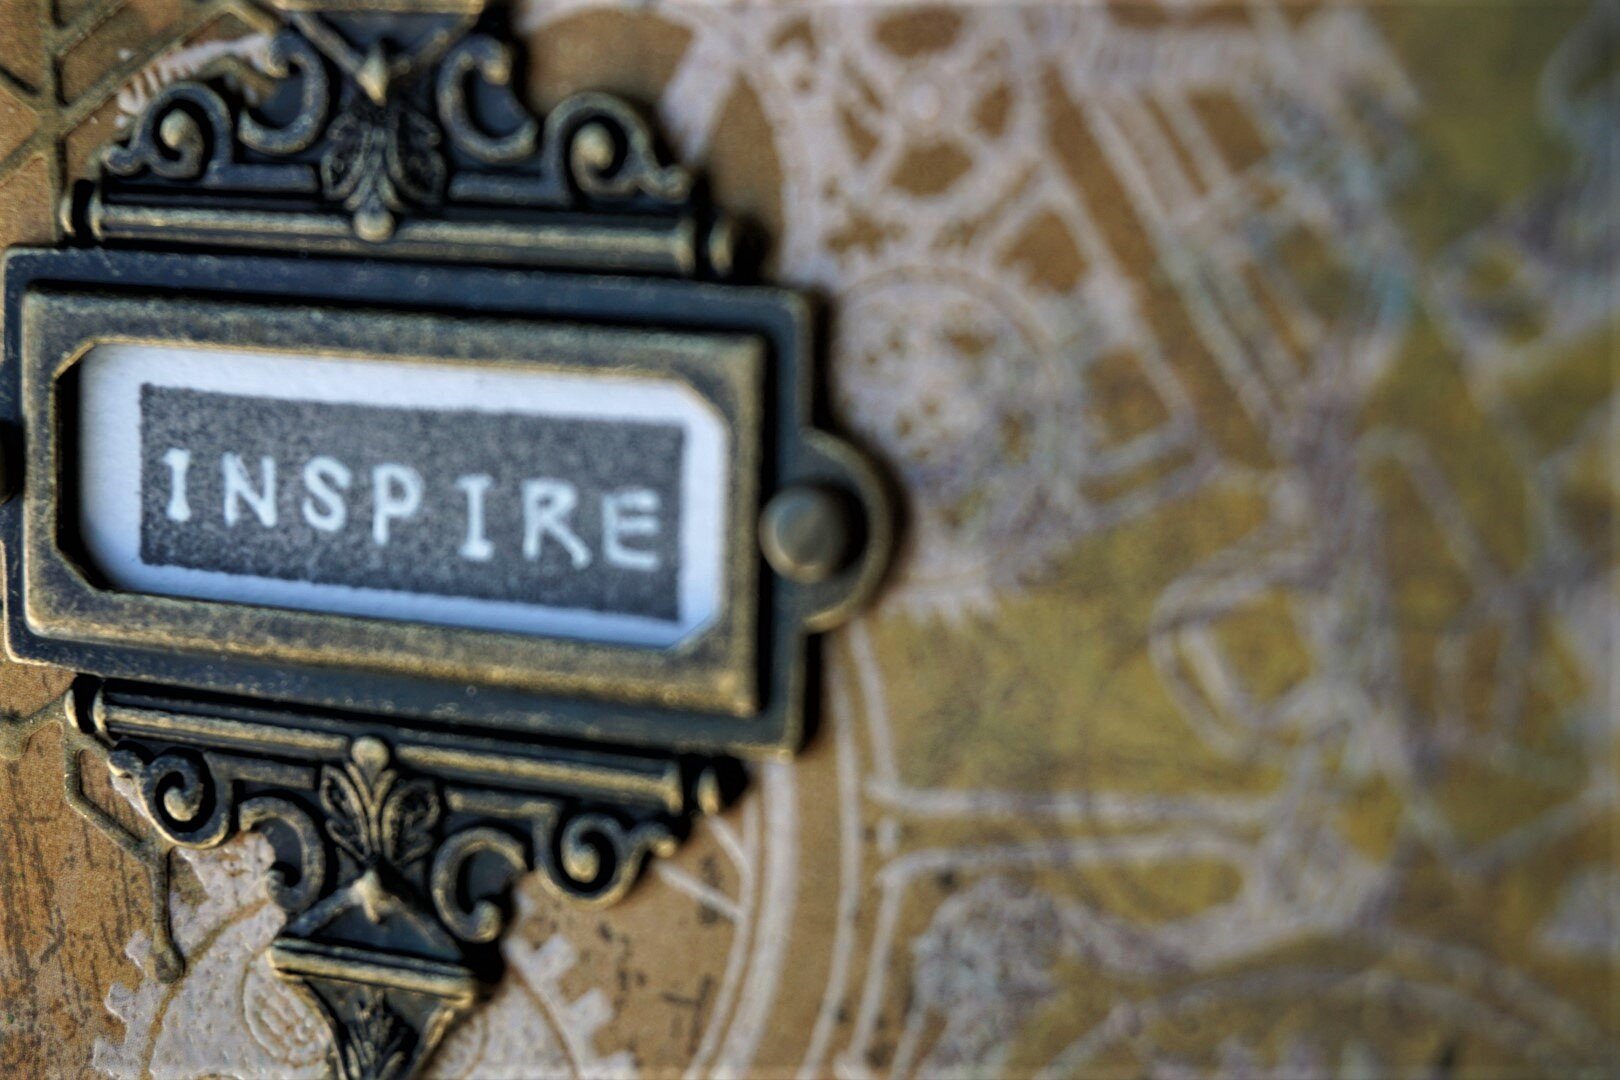
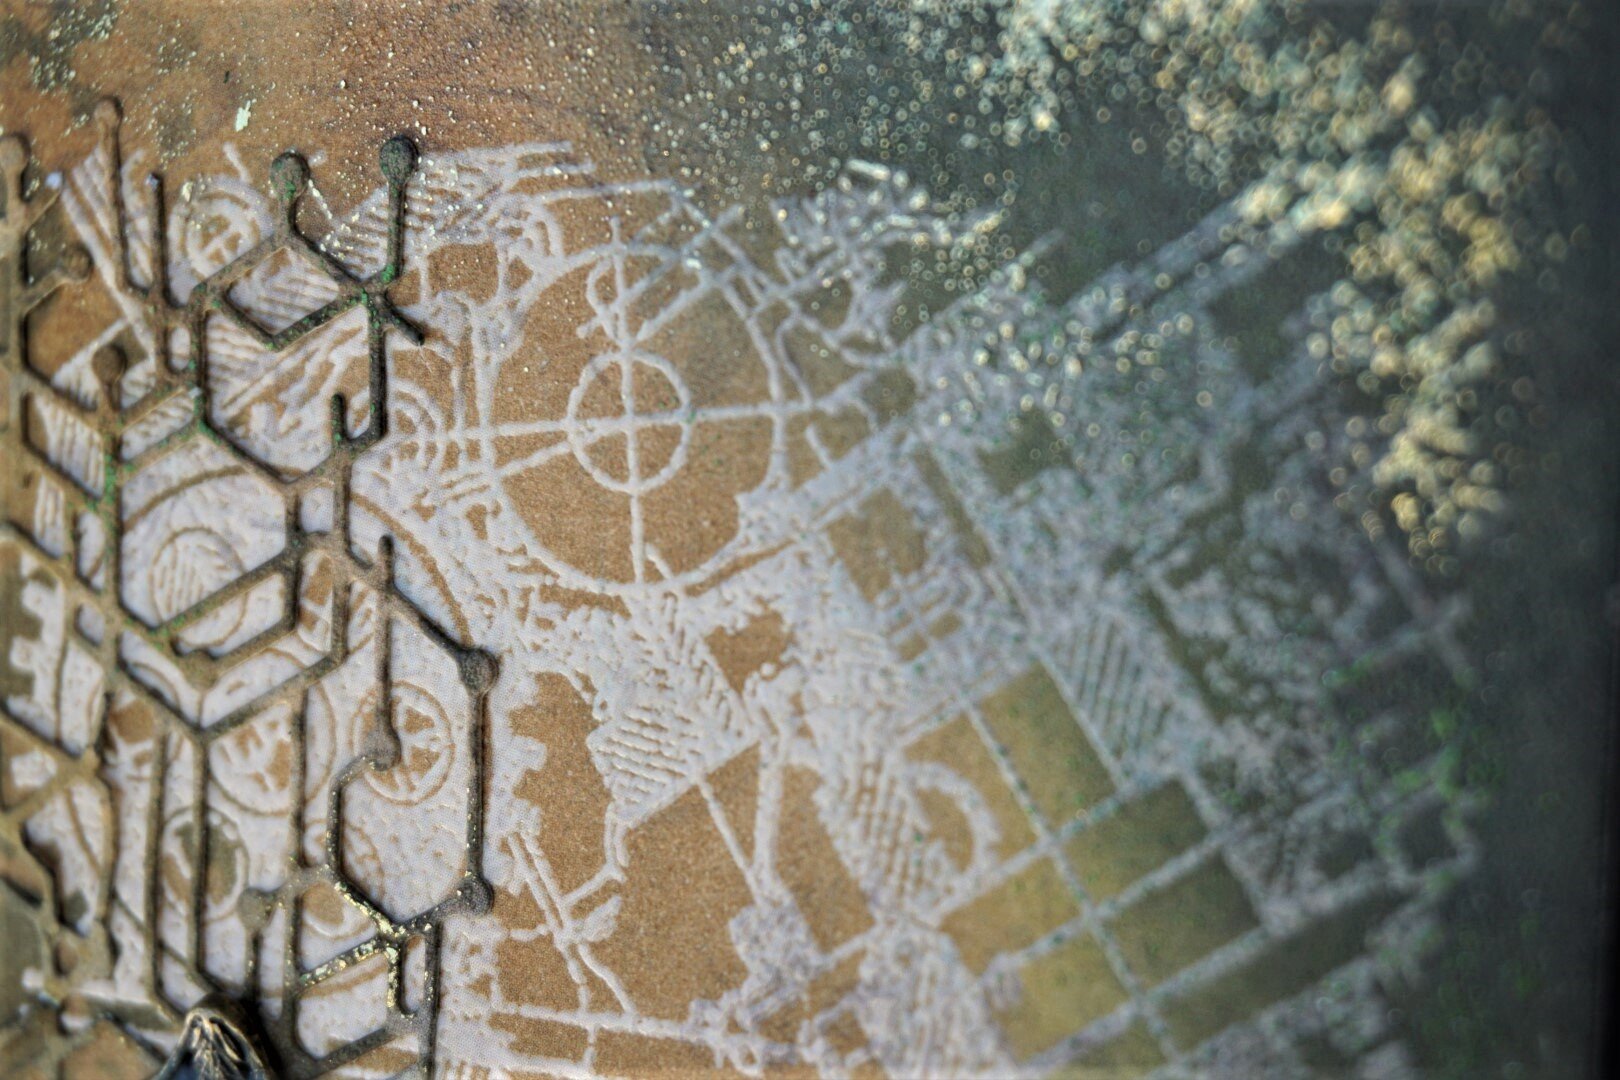
Card 1 - Inspire
This is an A6 card (6” by 4”). Firstly I used the stencil, Steam Cogs by Aall & Create with Ranger distress inks (Crushed Olive, Spiced Marmalade, Vintage Photo, Iced Spruce & Black Soot) on patterned paper form the Bo Bunny ‘Welcome Home Collection’ 6” by 6” pad (this is a very old patterned paper which is no longer available). Where I used Black Soot distress ink in the corners, I sprinkled with Ranger Sticky Embossing Powder which essentially creates liquid glue and heated, and used gold foil on it to have some distressed shimmer look. Then I used the scrap of the distressed cut to die cut fine connected geometric shape, smeared some distres ink Black Soot (so that it’d stand out on the card panel) and placed Tim Holtz idea-ology Ornate Plate on the card with the label look word ‘inspire’ which I stamped three times with the Versafine Smokey Grey ink using my MISTI stamping tool.

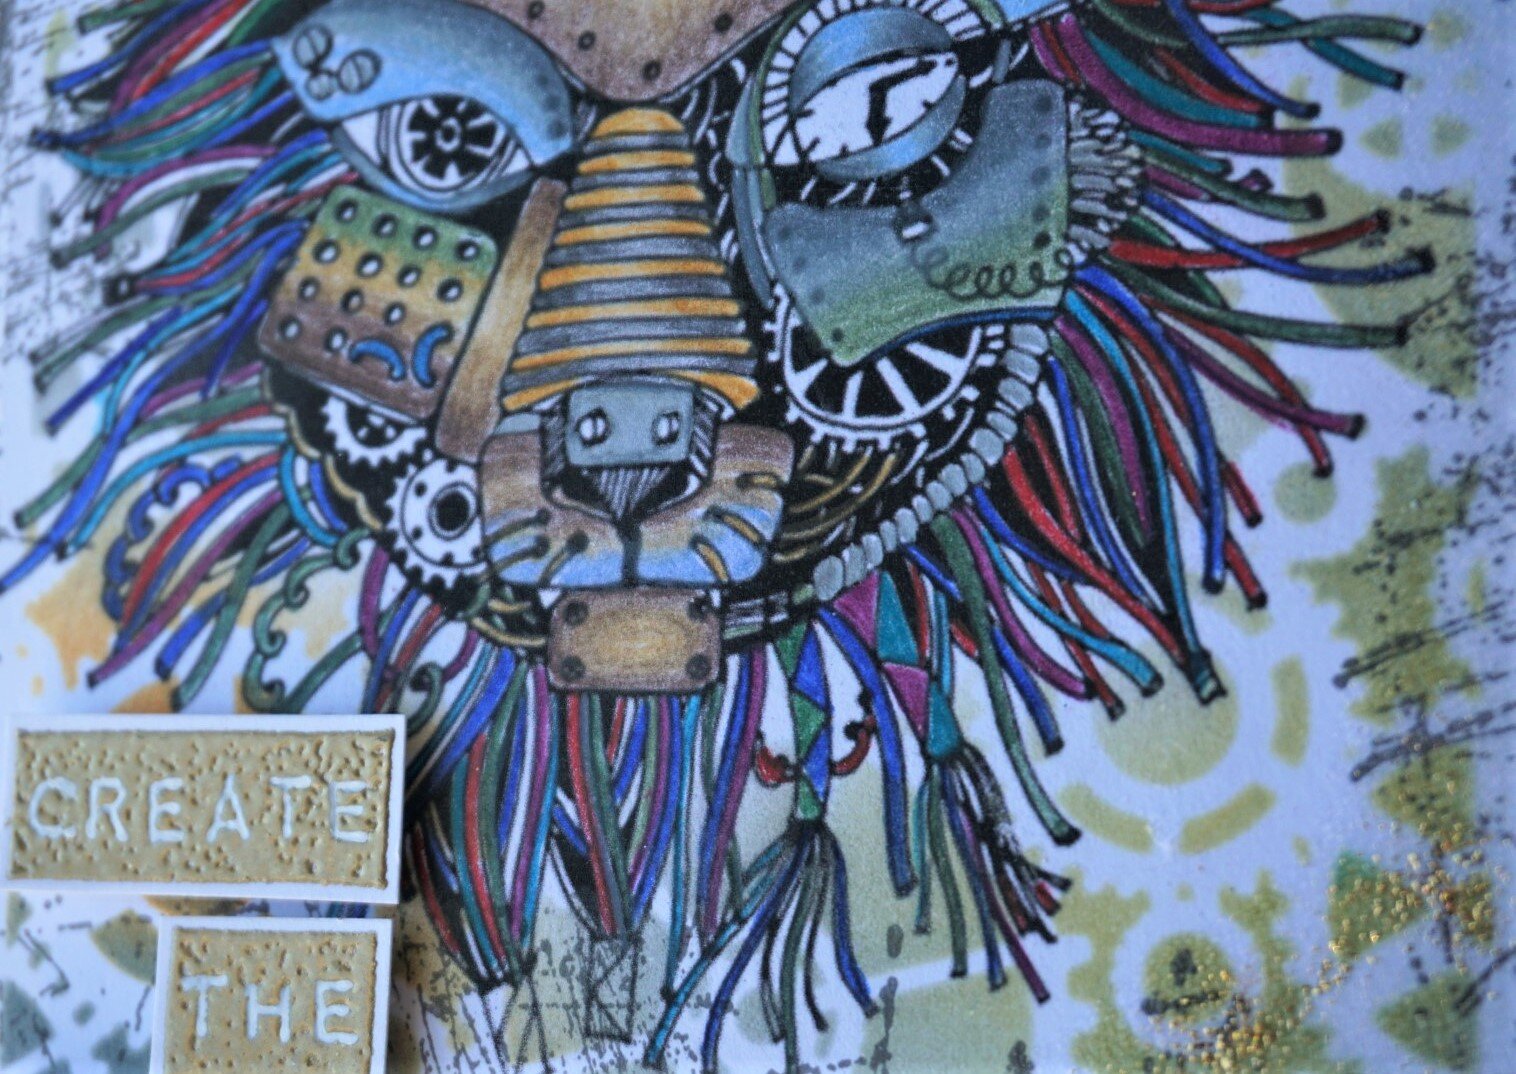
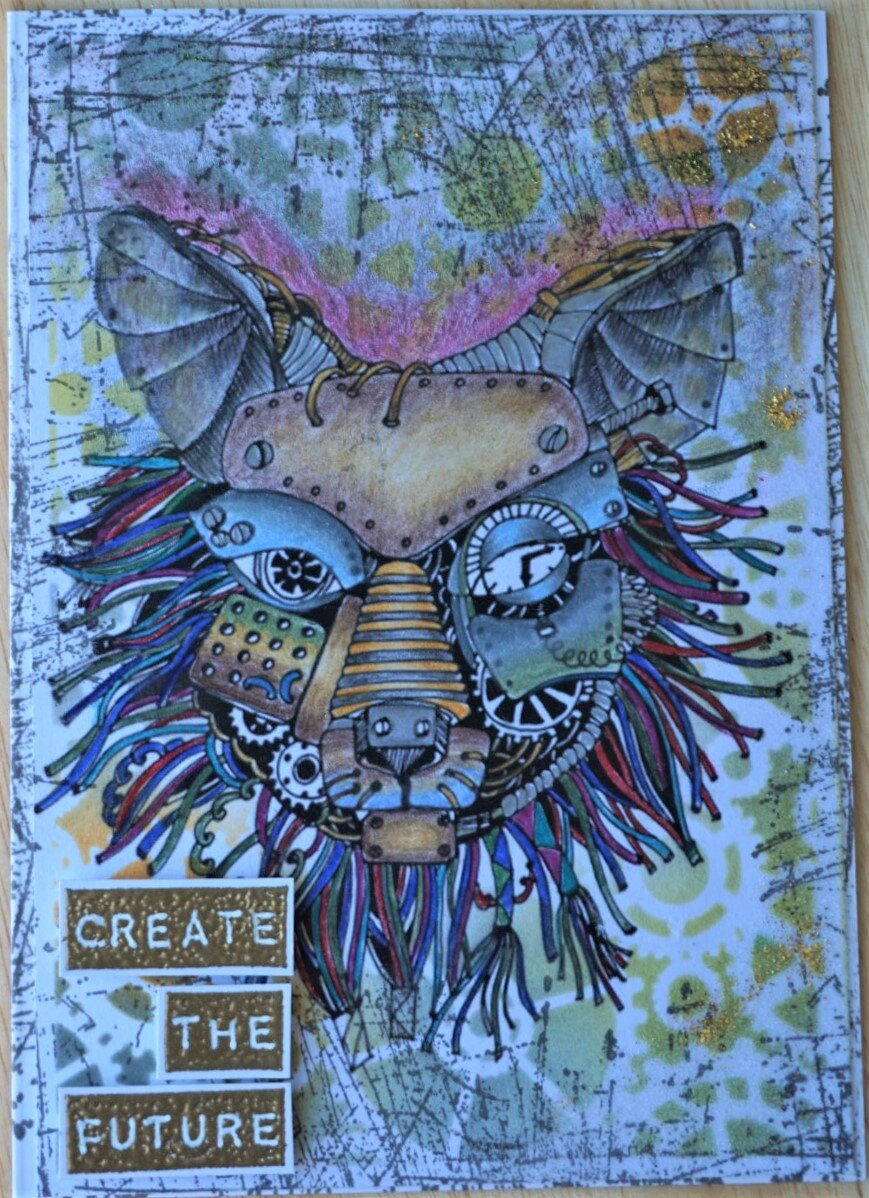
Card 2 - Create the Future
I downloaded the Steampunk Dog image from Shutterstock (got a 30 day free trial to download image for free). As I had to print image, it had to be on a paper that could go through my printer, so I had to keep that in mind as some colouring mediums such as water colours would not do.
Firstly I used the same stencil (as in Card 1) Steam Cogs by Aall & Create with Ranger distress inks (Crushed Olive, Spiced Marmalade, Vintage Photo, Iced Spruce & Black Soot). Then I colour image with Faber Castell Polychromous and Prismacolor pencils.
I also tapped some Versamark ink on the right corners of the card and sprinked with Ranger Sticky Embossing Powder which essentially creates liquid glue and heated, and used gold foil on it to have some distressed shimmer look.
Adhered paper with image to a white A6 card with double-sided tape and embossed the lable maker sentiment ‘Create the Future’ with gold embossing powder, cut out and adhered to card with square foams for some dimension.

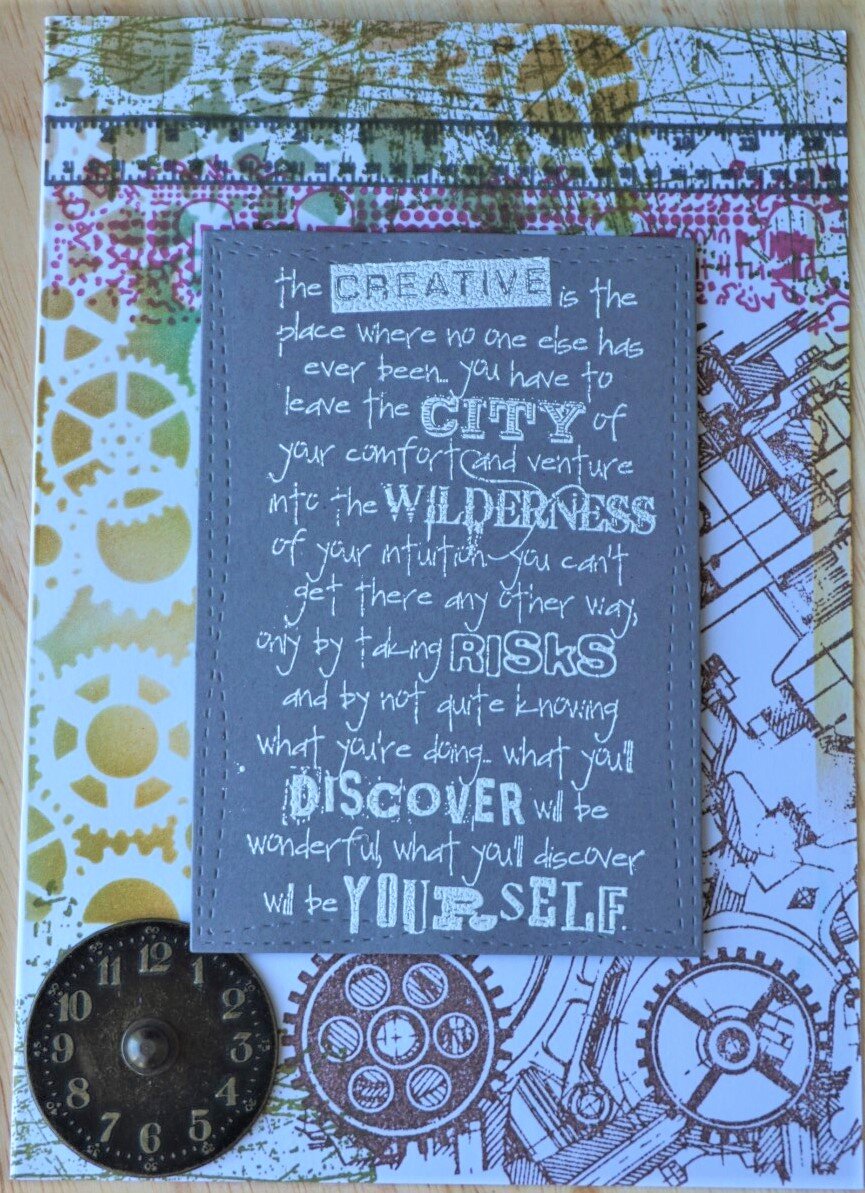
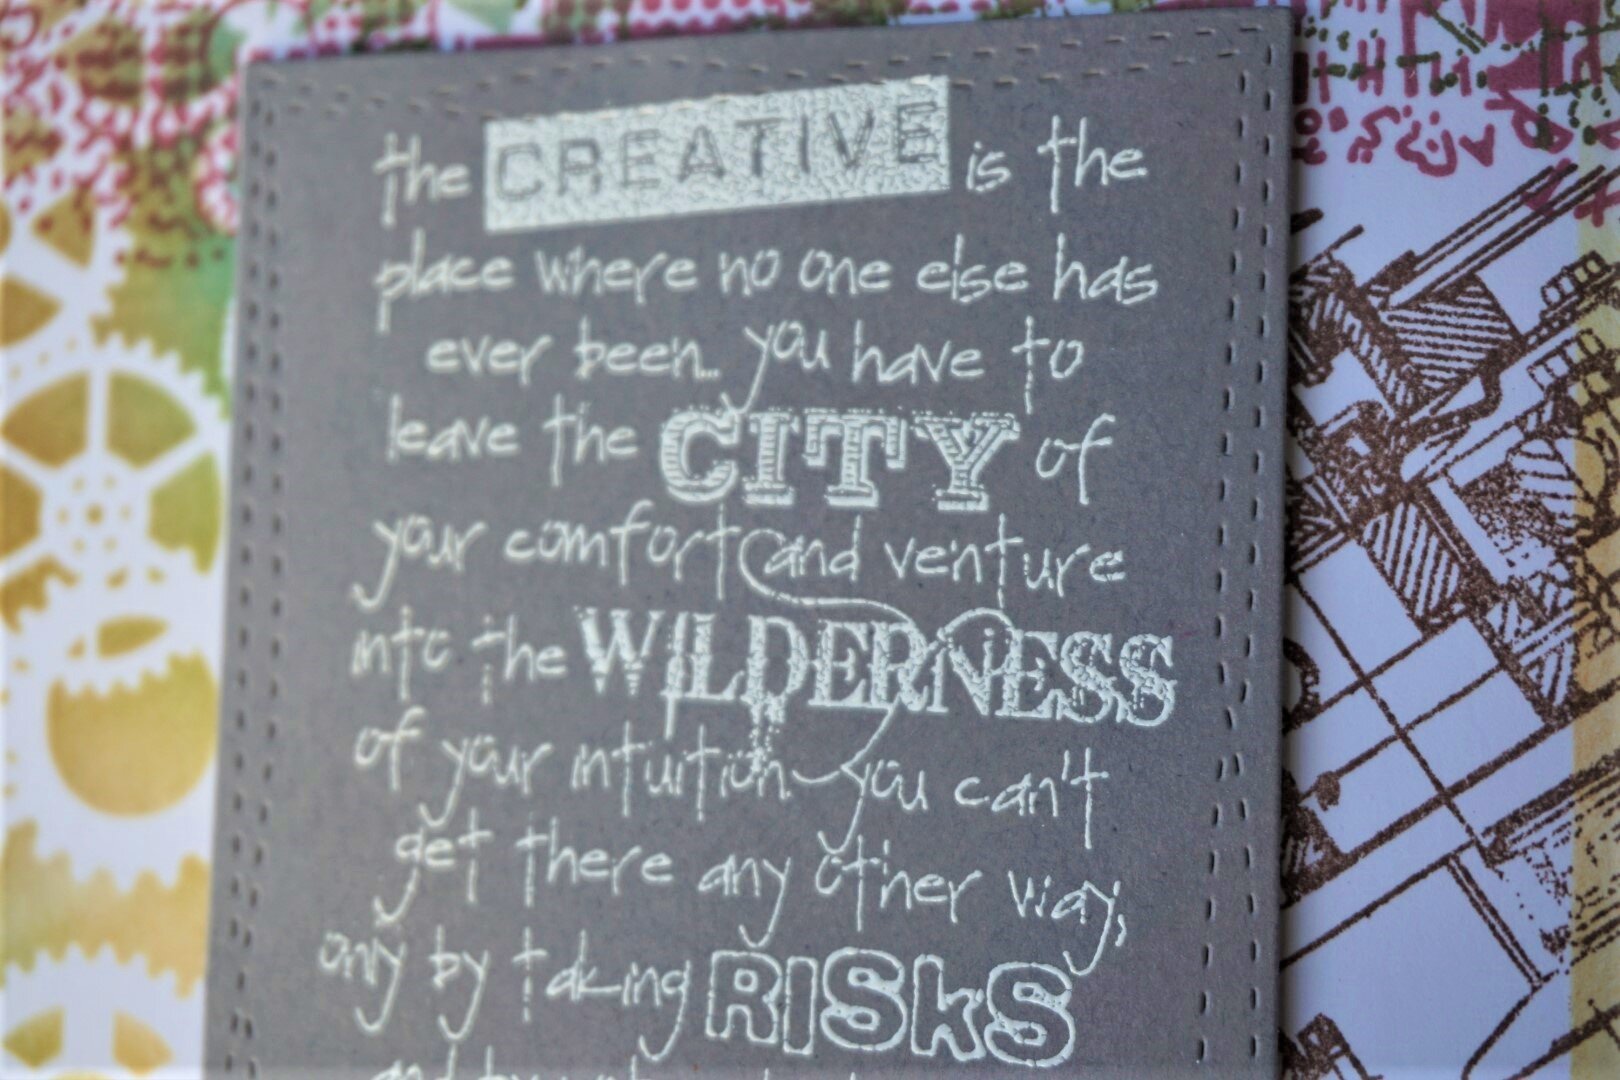
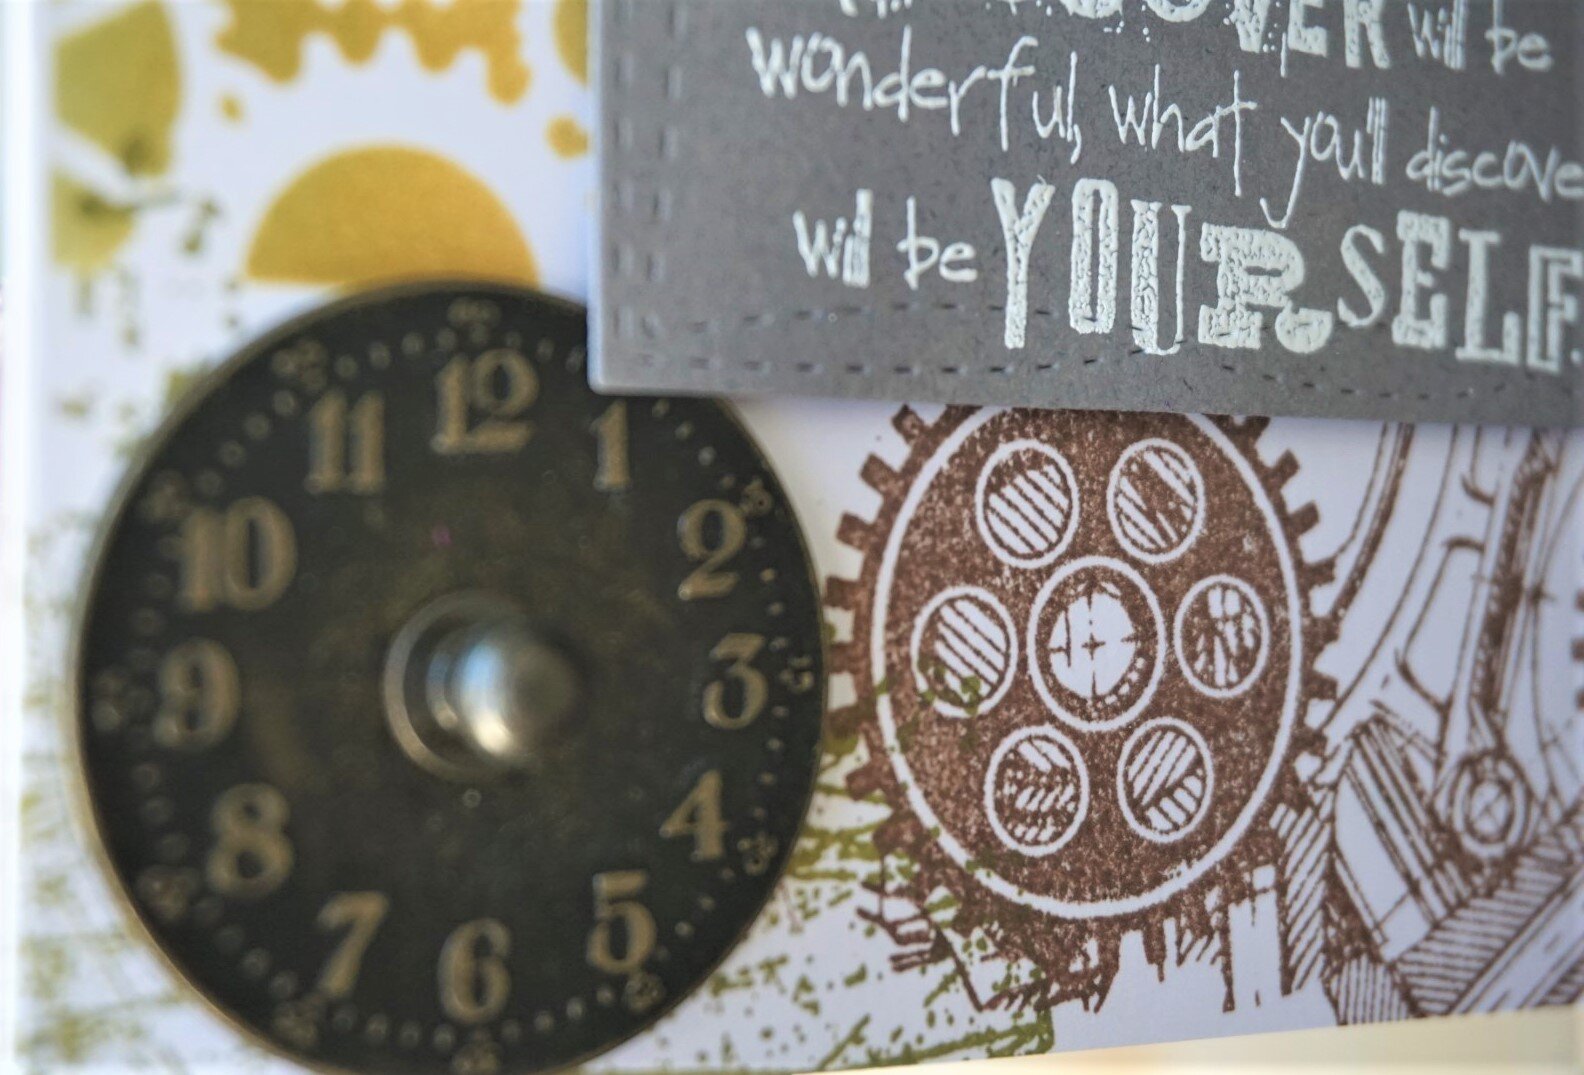
Card 3 - Creative
This is a white A7 card ( 5” by 7”). I used the stencil, Steam Cogs by Aall & Create with Ranger distress inks (Crushed Olive, Spiced Marmalade, Vintage Photo, Iced Spruce & Black Soot) on the left top corner and then used the Carabelle Studio Engrenages background stamp which I stamped with Versafine Sepia ink pad. Also stamped a ‘radio wave’ stamp and ‘ruler’ stamp at the top half of the card with Versafine Smokey Grey ink and Versafine Crimson Red ink respectively. Then I stamped the ‘creative’ sentiment paragraph form Tim Holz’s Urban Tapestry stamp set with Versamark Ink and heat embossed white embossing powder with the WOW heat tool. I also added the Tim Holtz Idea-ology Timepieces and fastened in with a hitch fastener.
Thanks for stopping by and do leave a comment. Stay safe and have a lovely day.